Skip to main content
To give your customers an option to buy your products in subscription via Juo Subscriptions, you first need to create a Subscription plan. A subscription plan contains all the necessary information about a subscription, such as delivery frequencies, subscription discounts, and the available products.
Once set up, a Subscription plan is displayed in the Juo Subscription Widget, so that your customers can choose the right order frequency when subscribing for a product and receive a corresponding discount.
Create a new Subscription plan
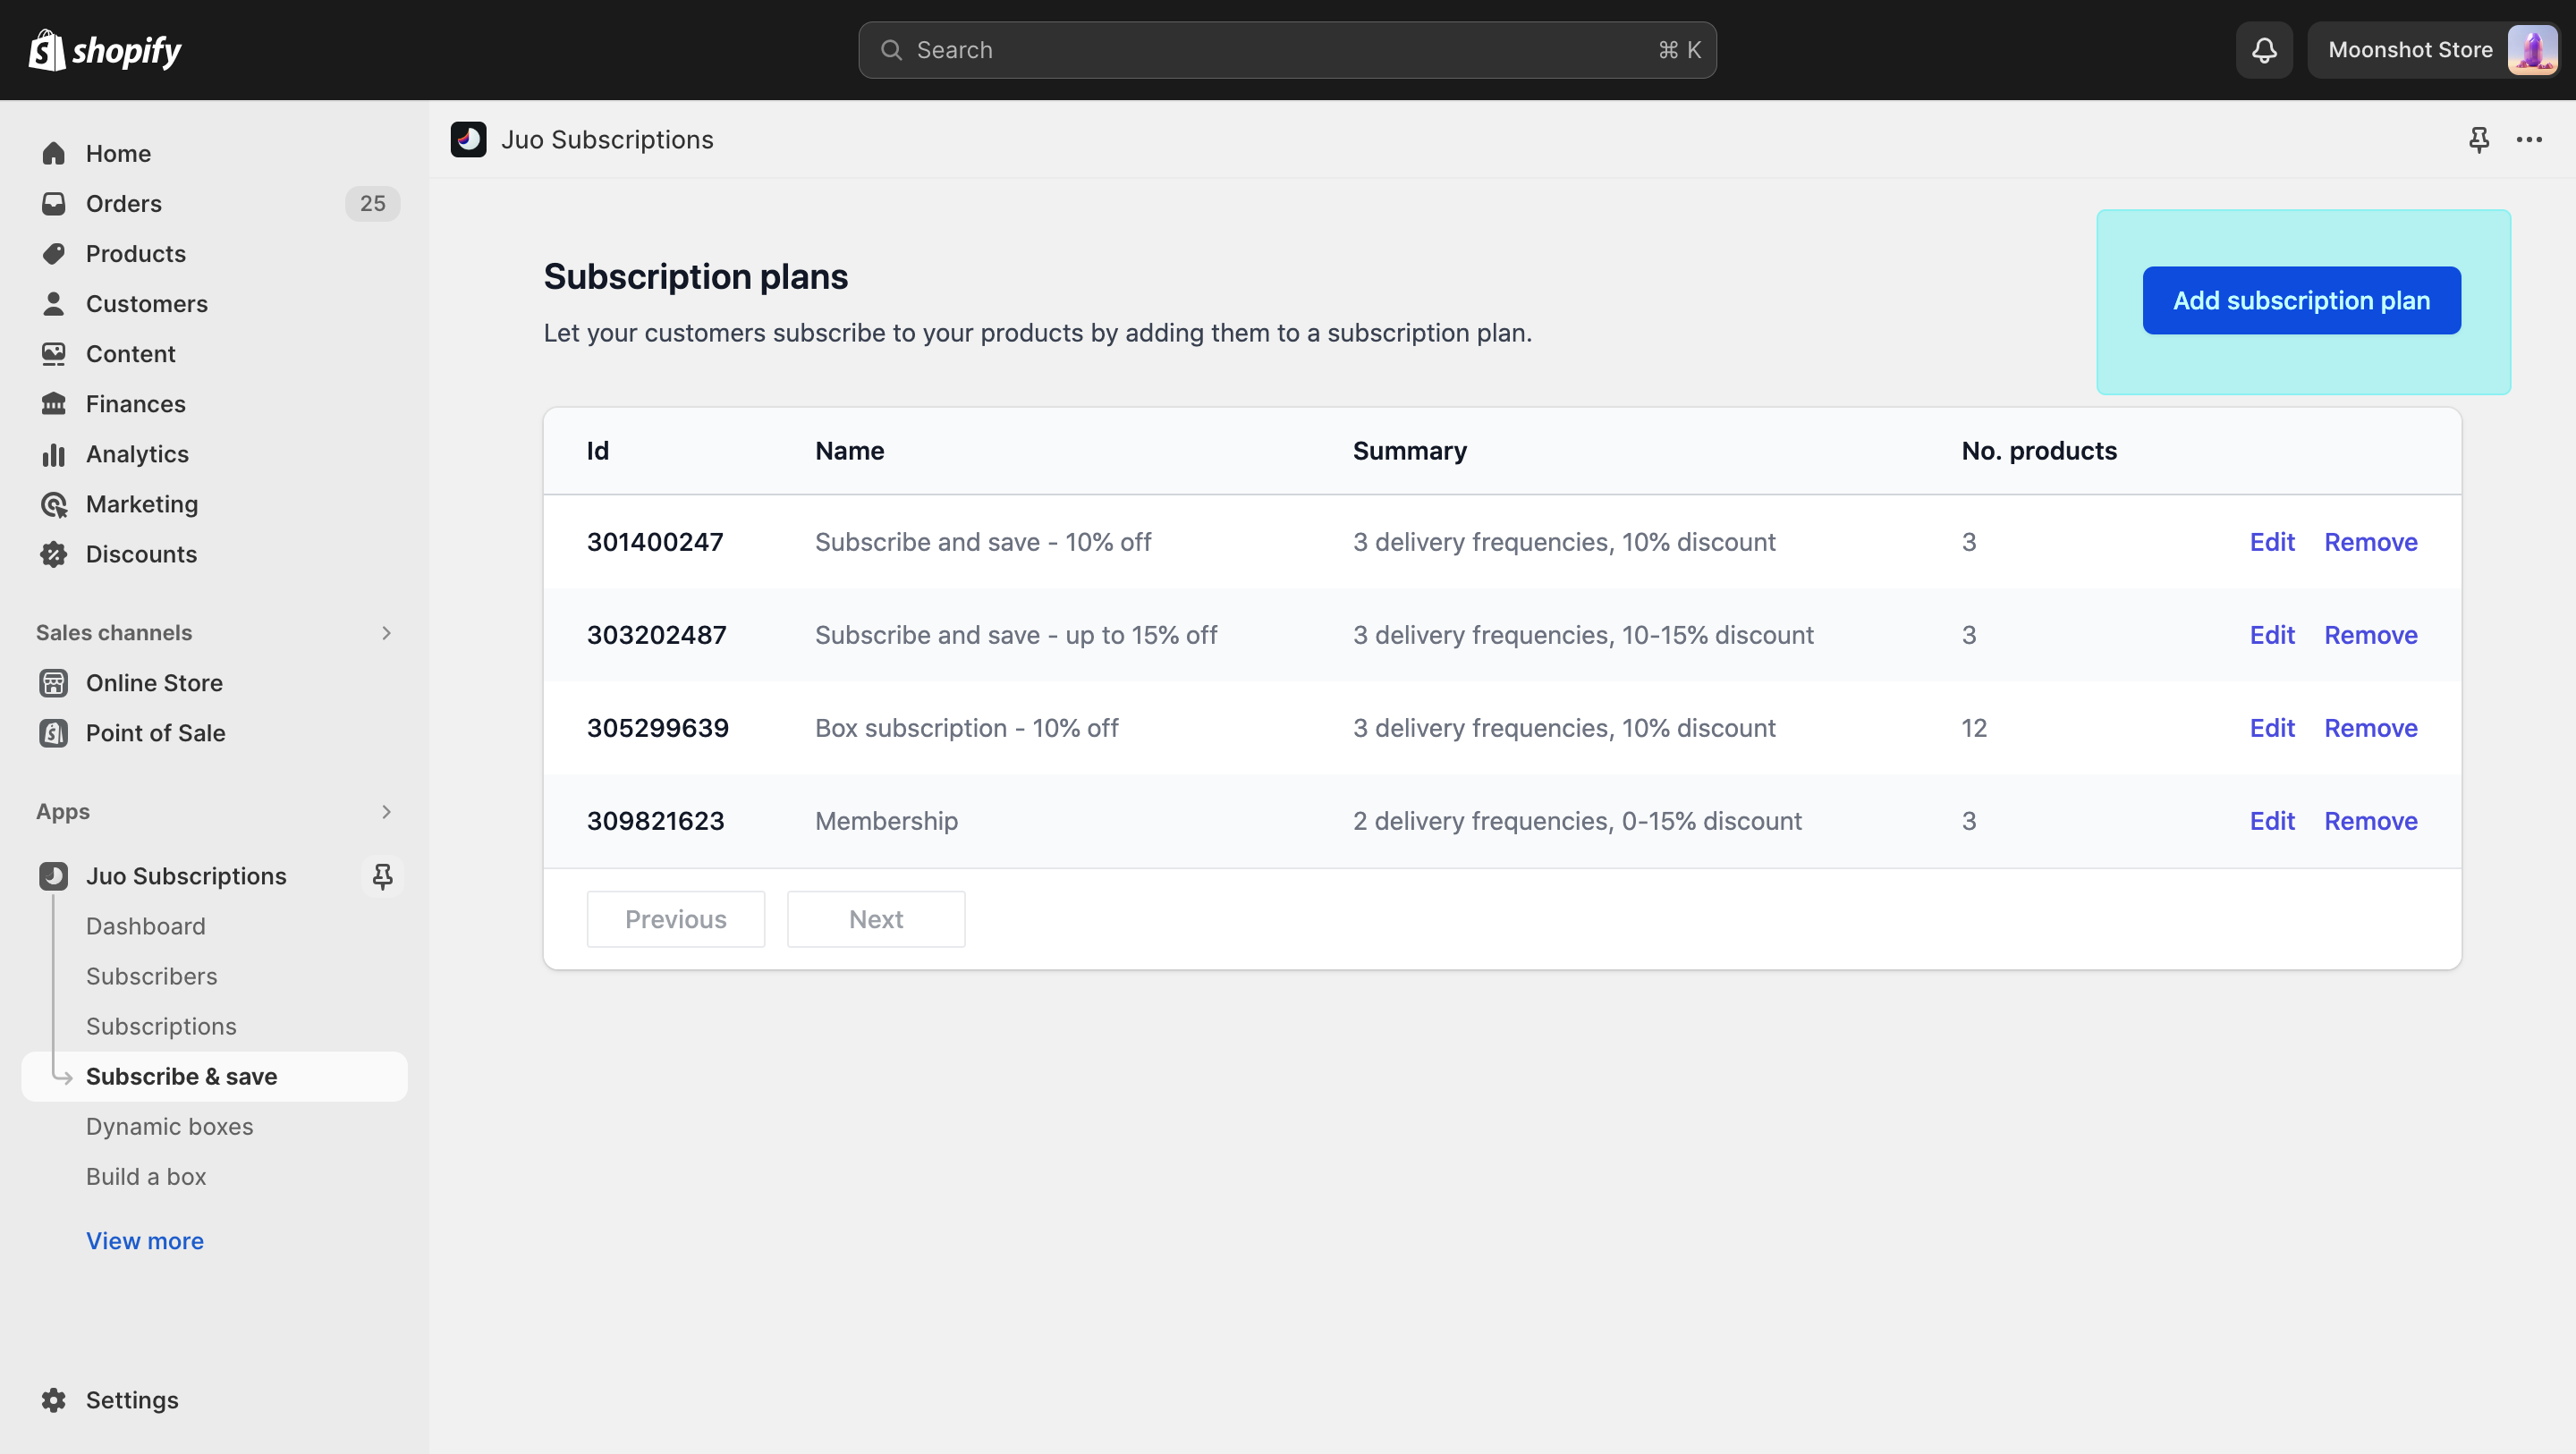
To create and manage subscription plans in Juo, go to Offers → Subscribe and save and click on Add new to create a new subscription plan.
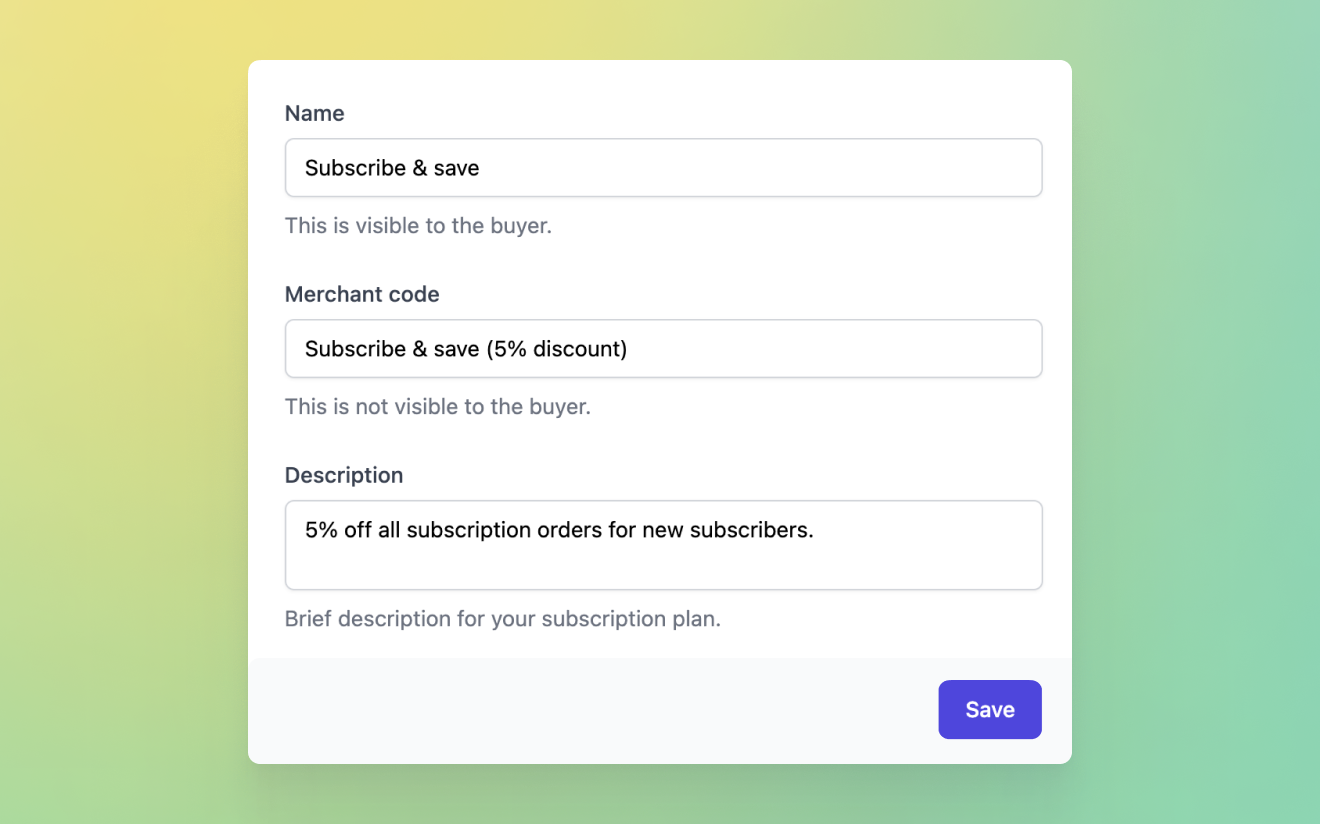
The name will only be visible for you, so pick one that helps you identify it later on for management purposes. Next, click “Create”.
Purchase options
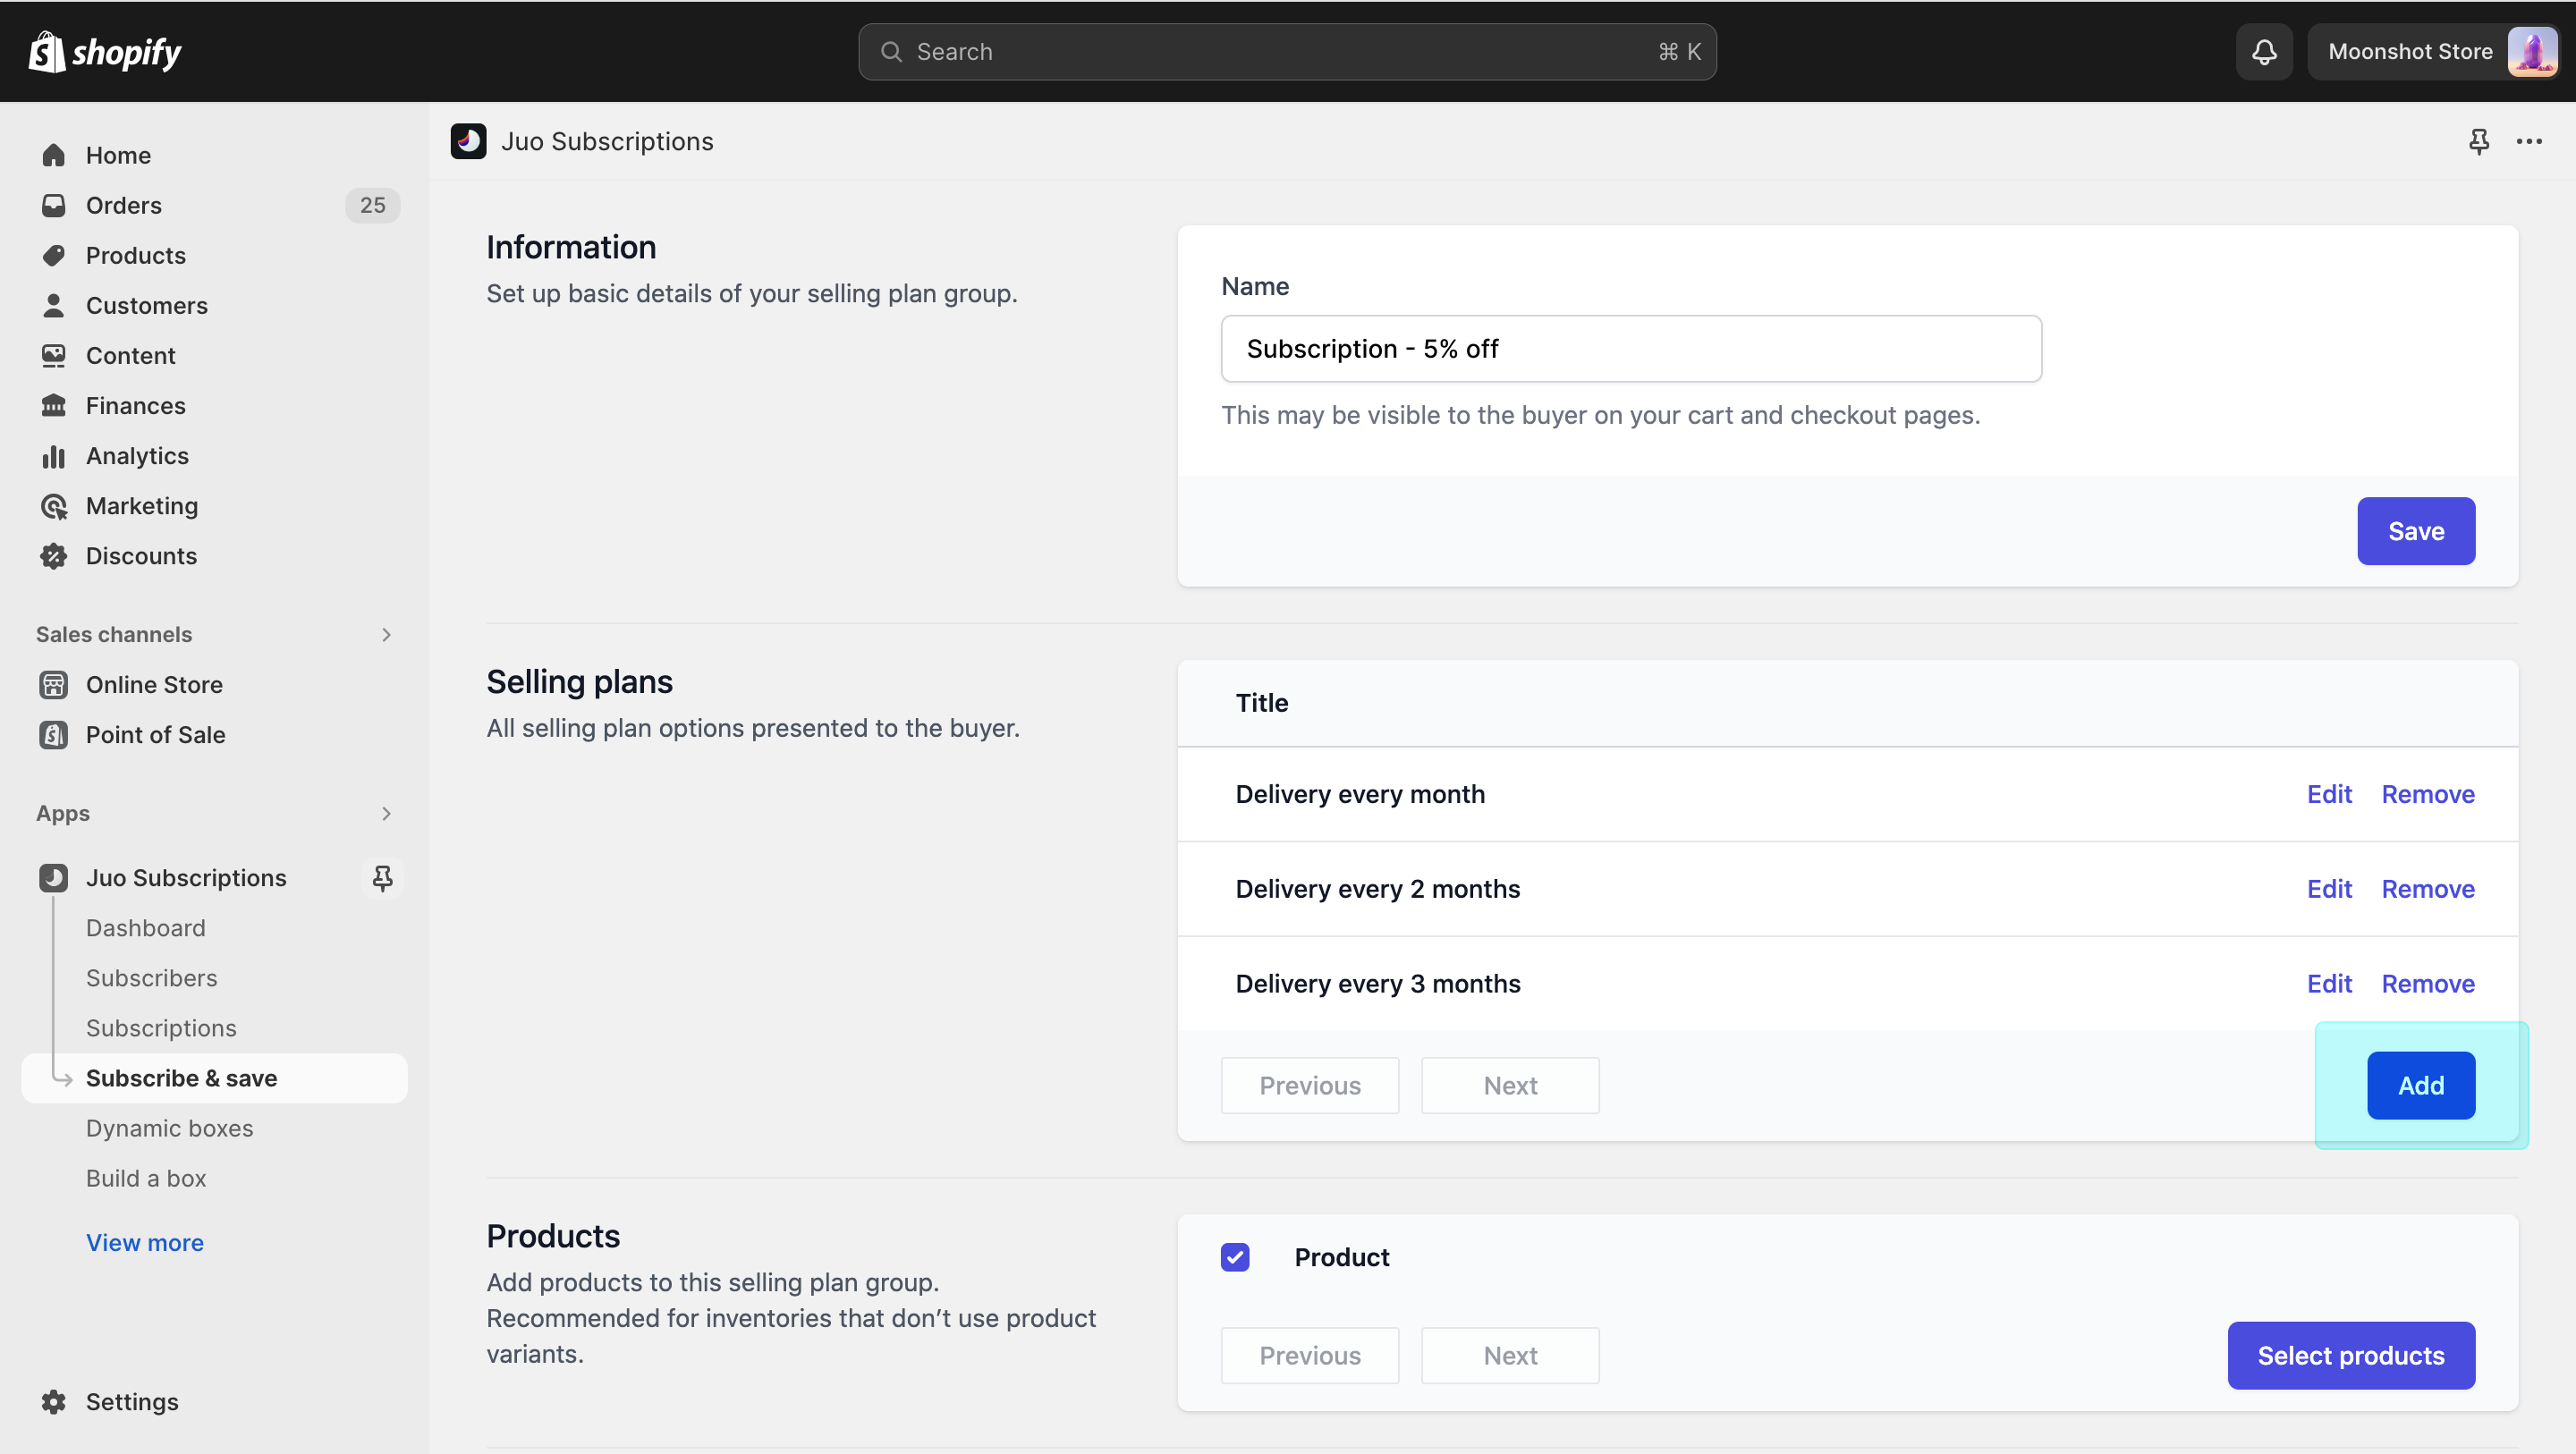
Each purchase option represents a different delivery frequency your customers can choose when subscribing.
The first purchase option is already created for you with a default “Delivery every month” frequency. To add more frequencies, click on the “Add purchase option” button, under the Purchase options titles list.
Discounts
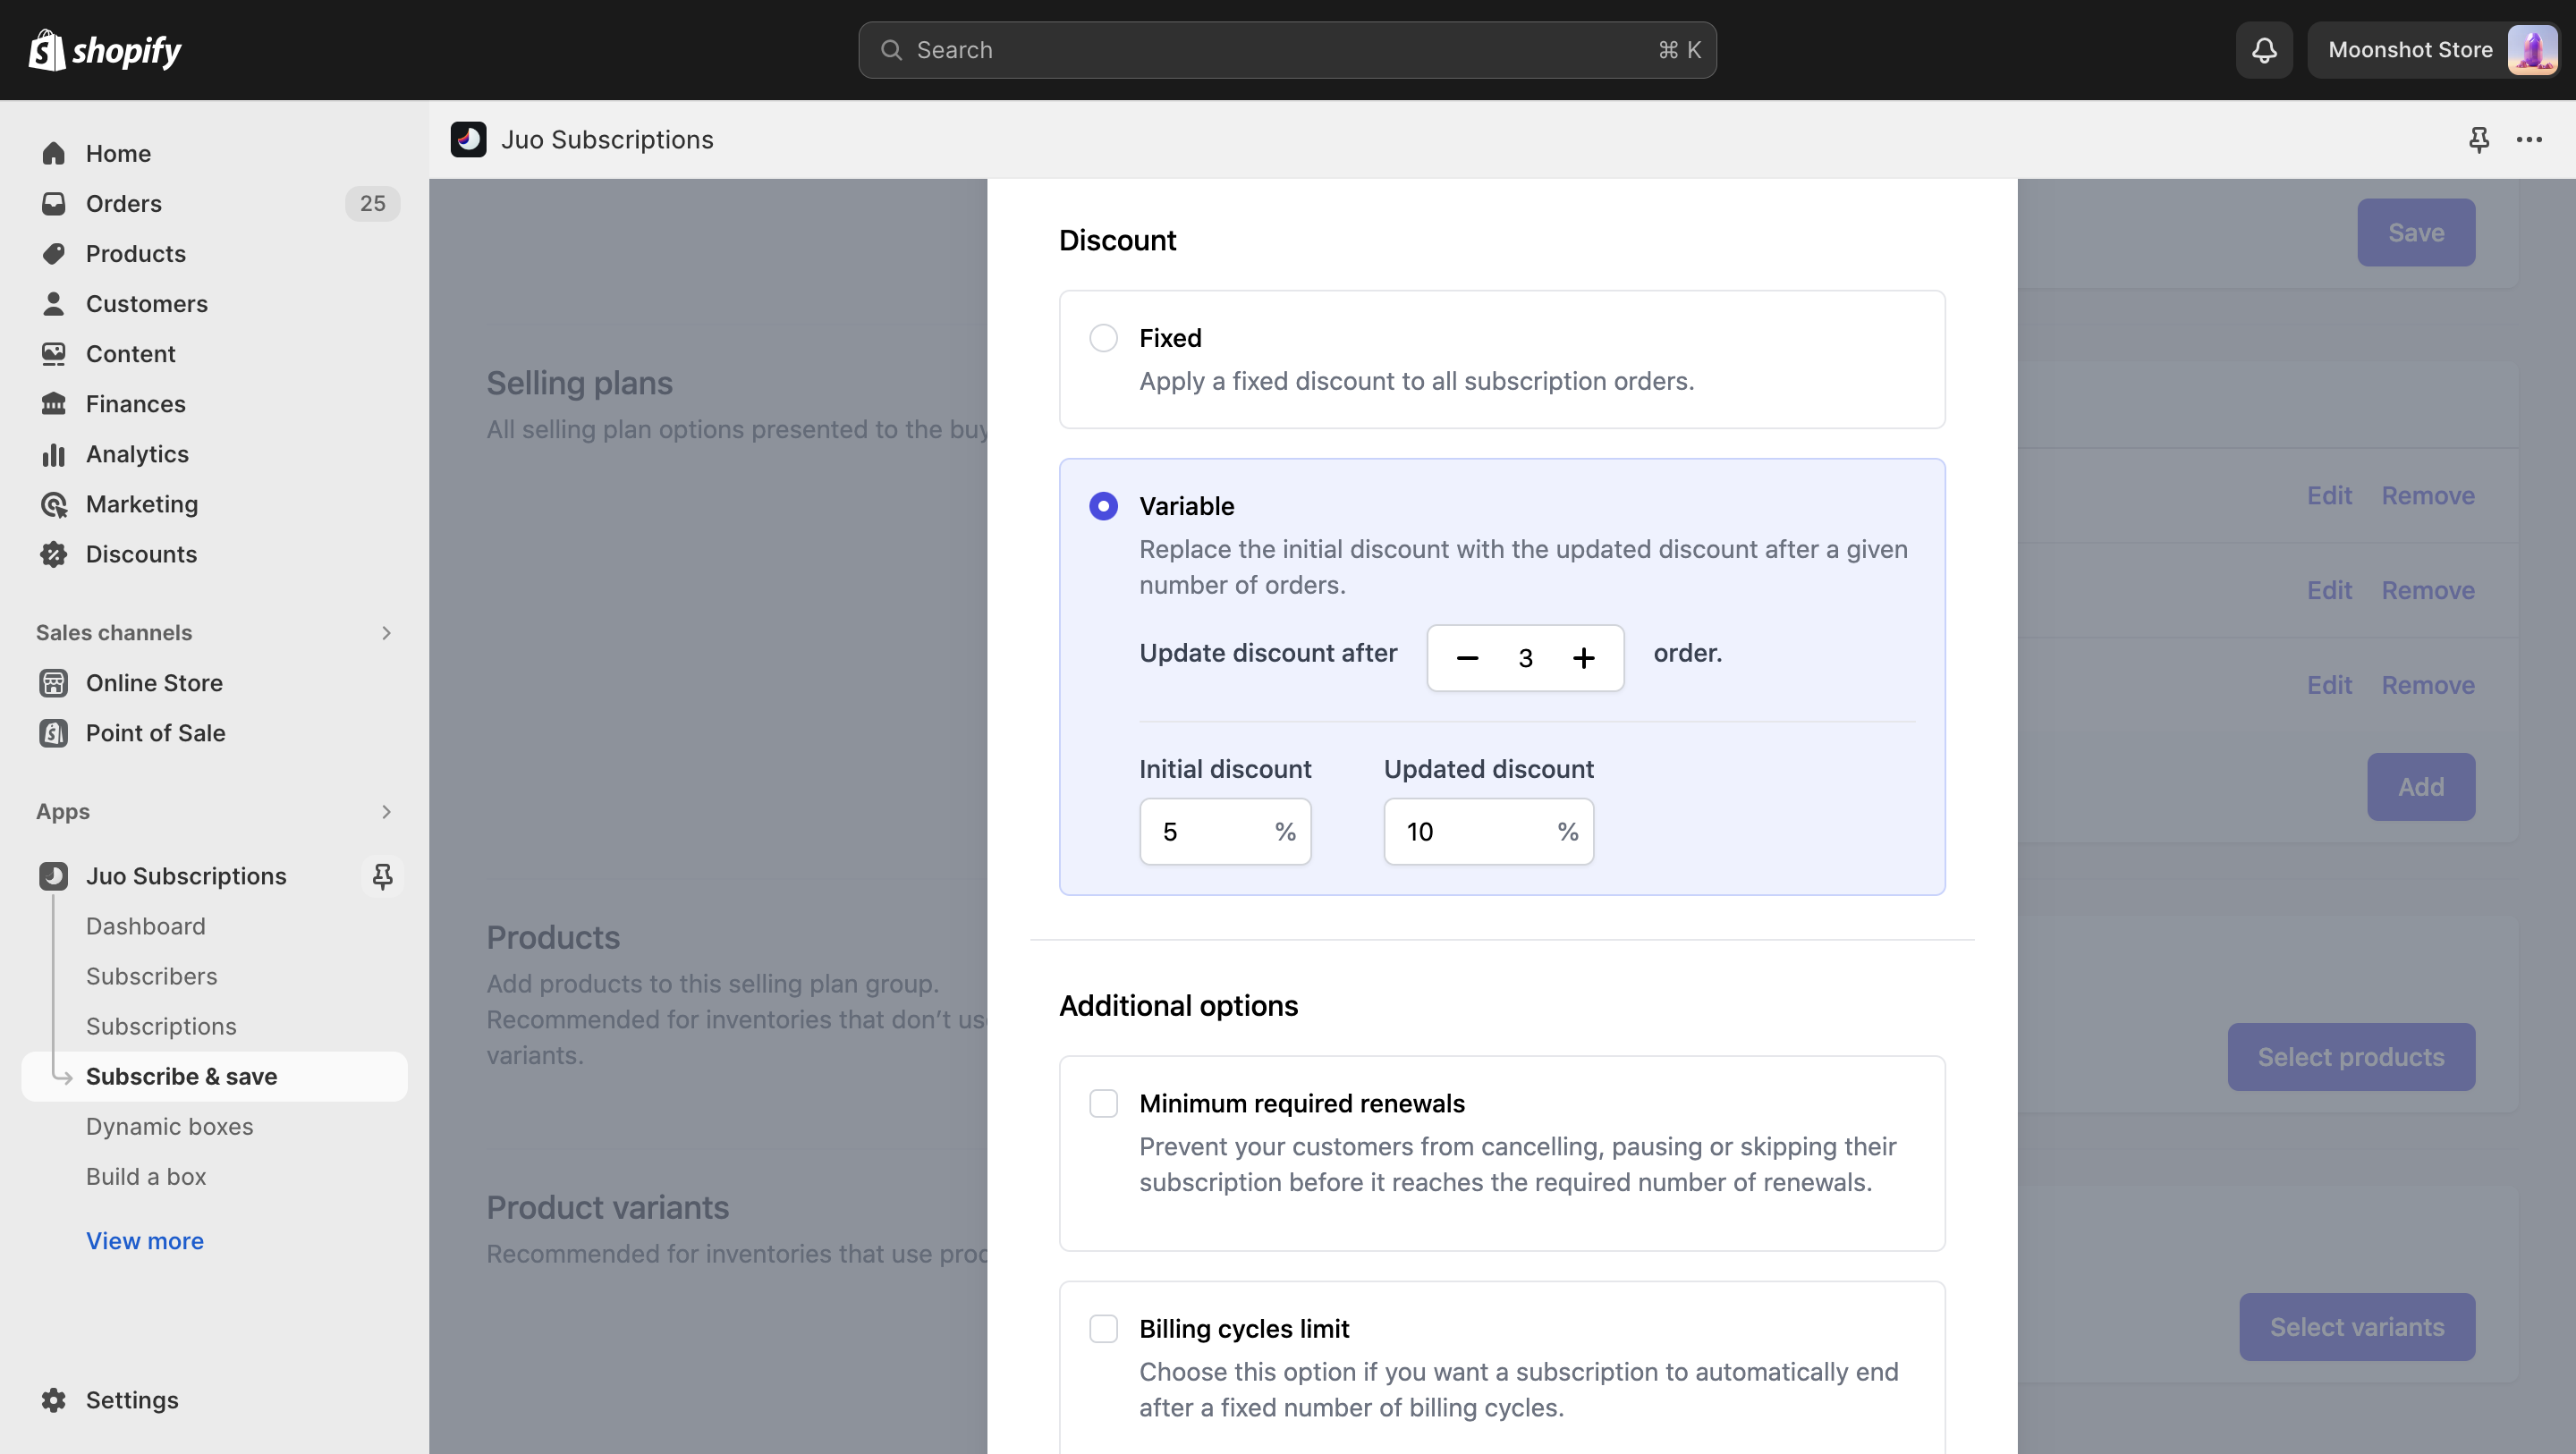
You can offer your subscriptions with a fixed or a variable discount. While a fixed discount will stay the same over the course of an entire subscription, a variable discount will automatically increased by a declared amount after a given number of renewals.
You can use variable discounts to e.g. reward your long-term subscribers or offer a bigger discount for the first order.
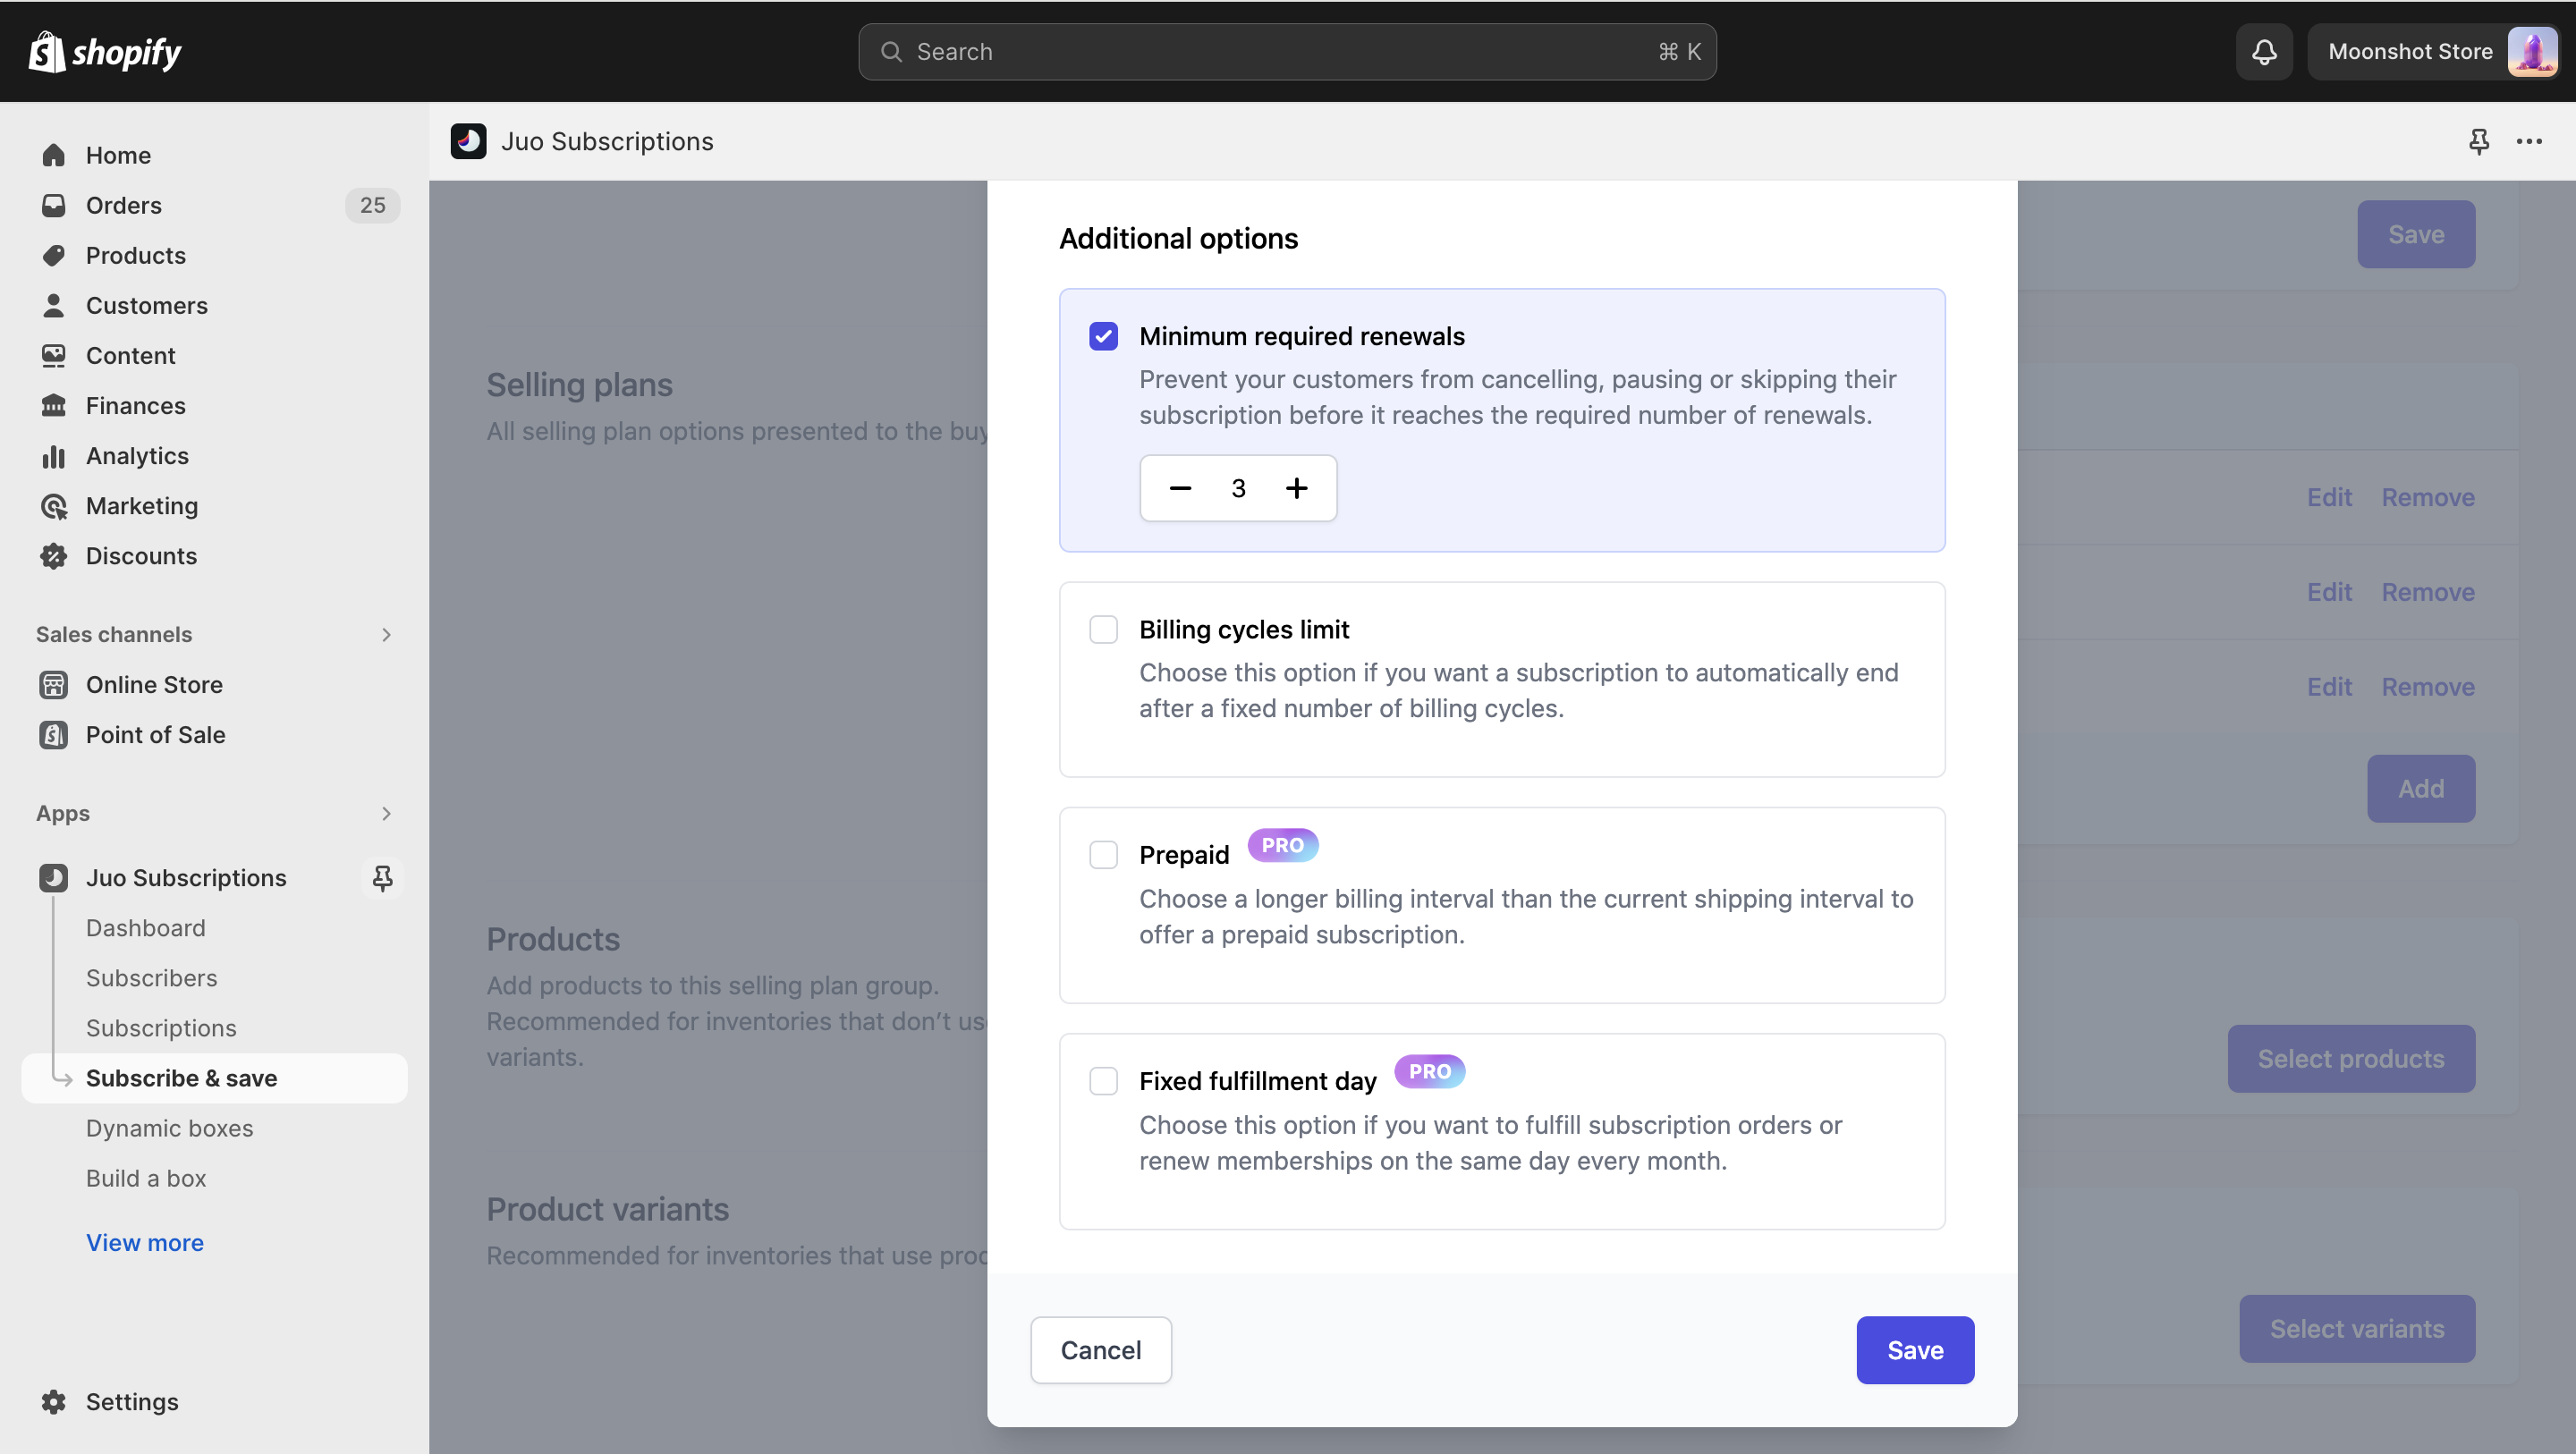
Additional options
- Minimum required renewals prevents your customers from manually canceling their subscription before it renews at least once.
- Billing cycles limit lets you end the subscription after a said number of billing cycles
- Prepaid lets you charge your customers for a number of deliveries in advance
- Fixed fulfillment day lets you set up a specific day of the week or month, on which you want to fulfill your subscription orders
- Auto-pause subscriptions allows you to automatically pause subscriptions within a specific time period, which is useful for example if you sell seasonal products.
Add products to the Subscription plan
By default, a Subscription plan is not associated with any products, meaning it won’t be available for any product once created.
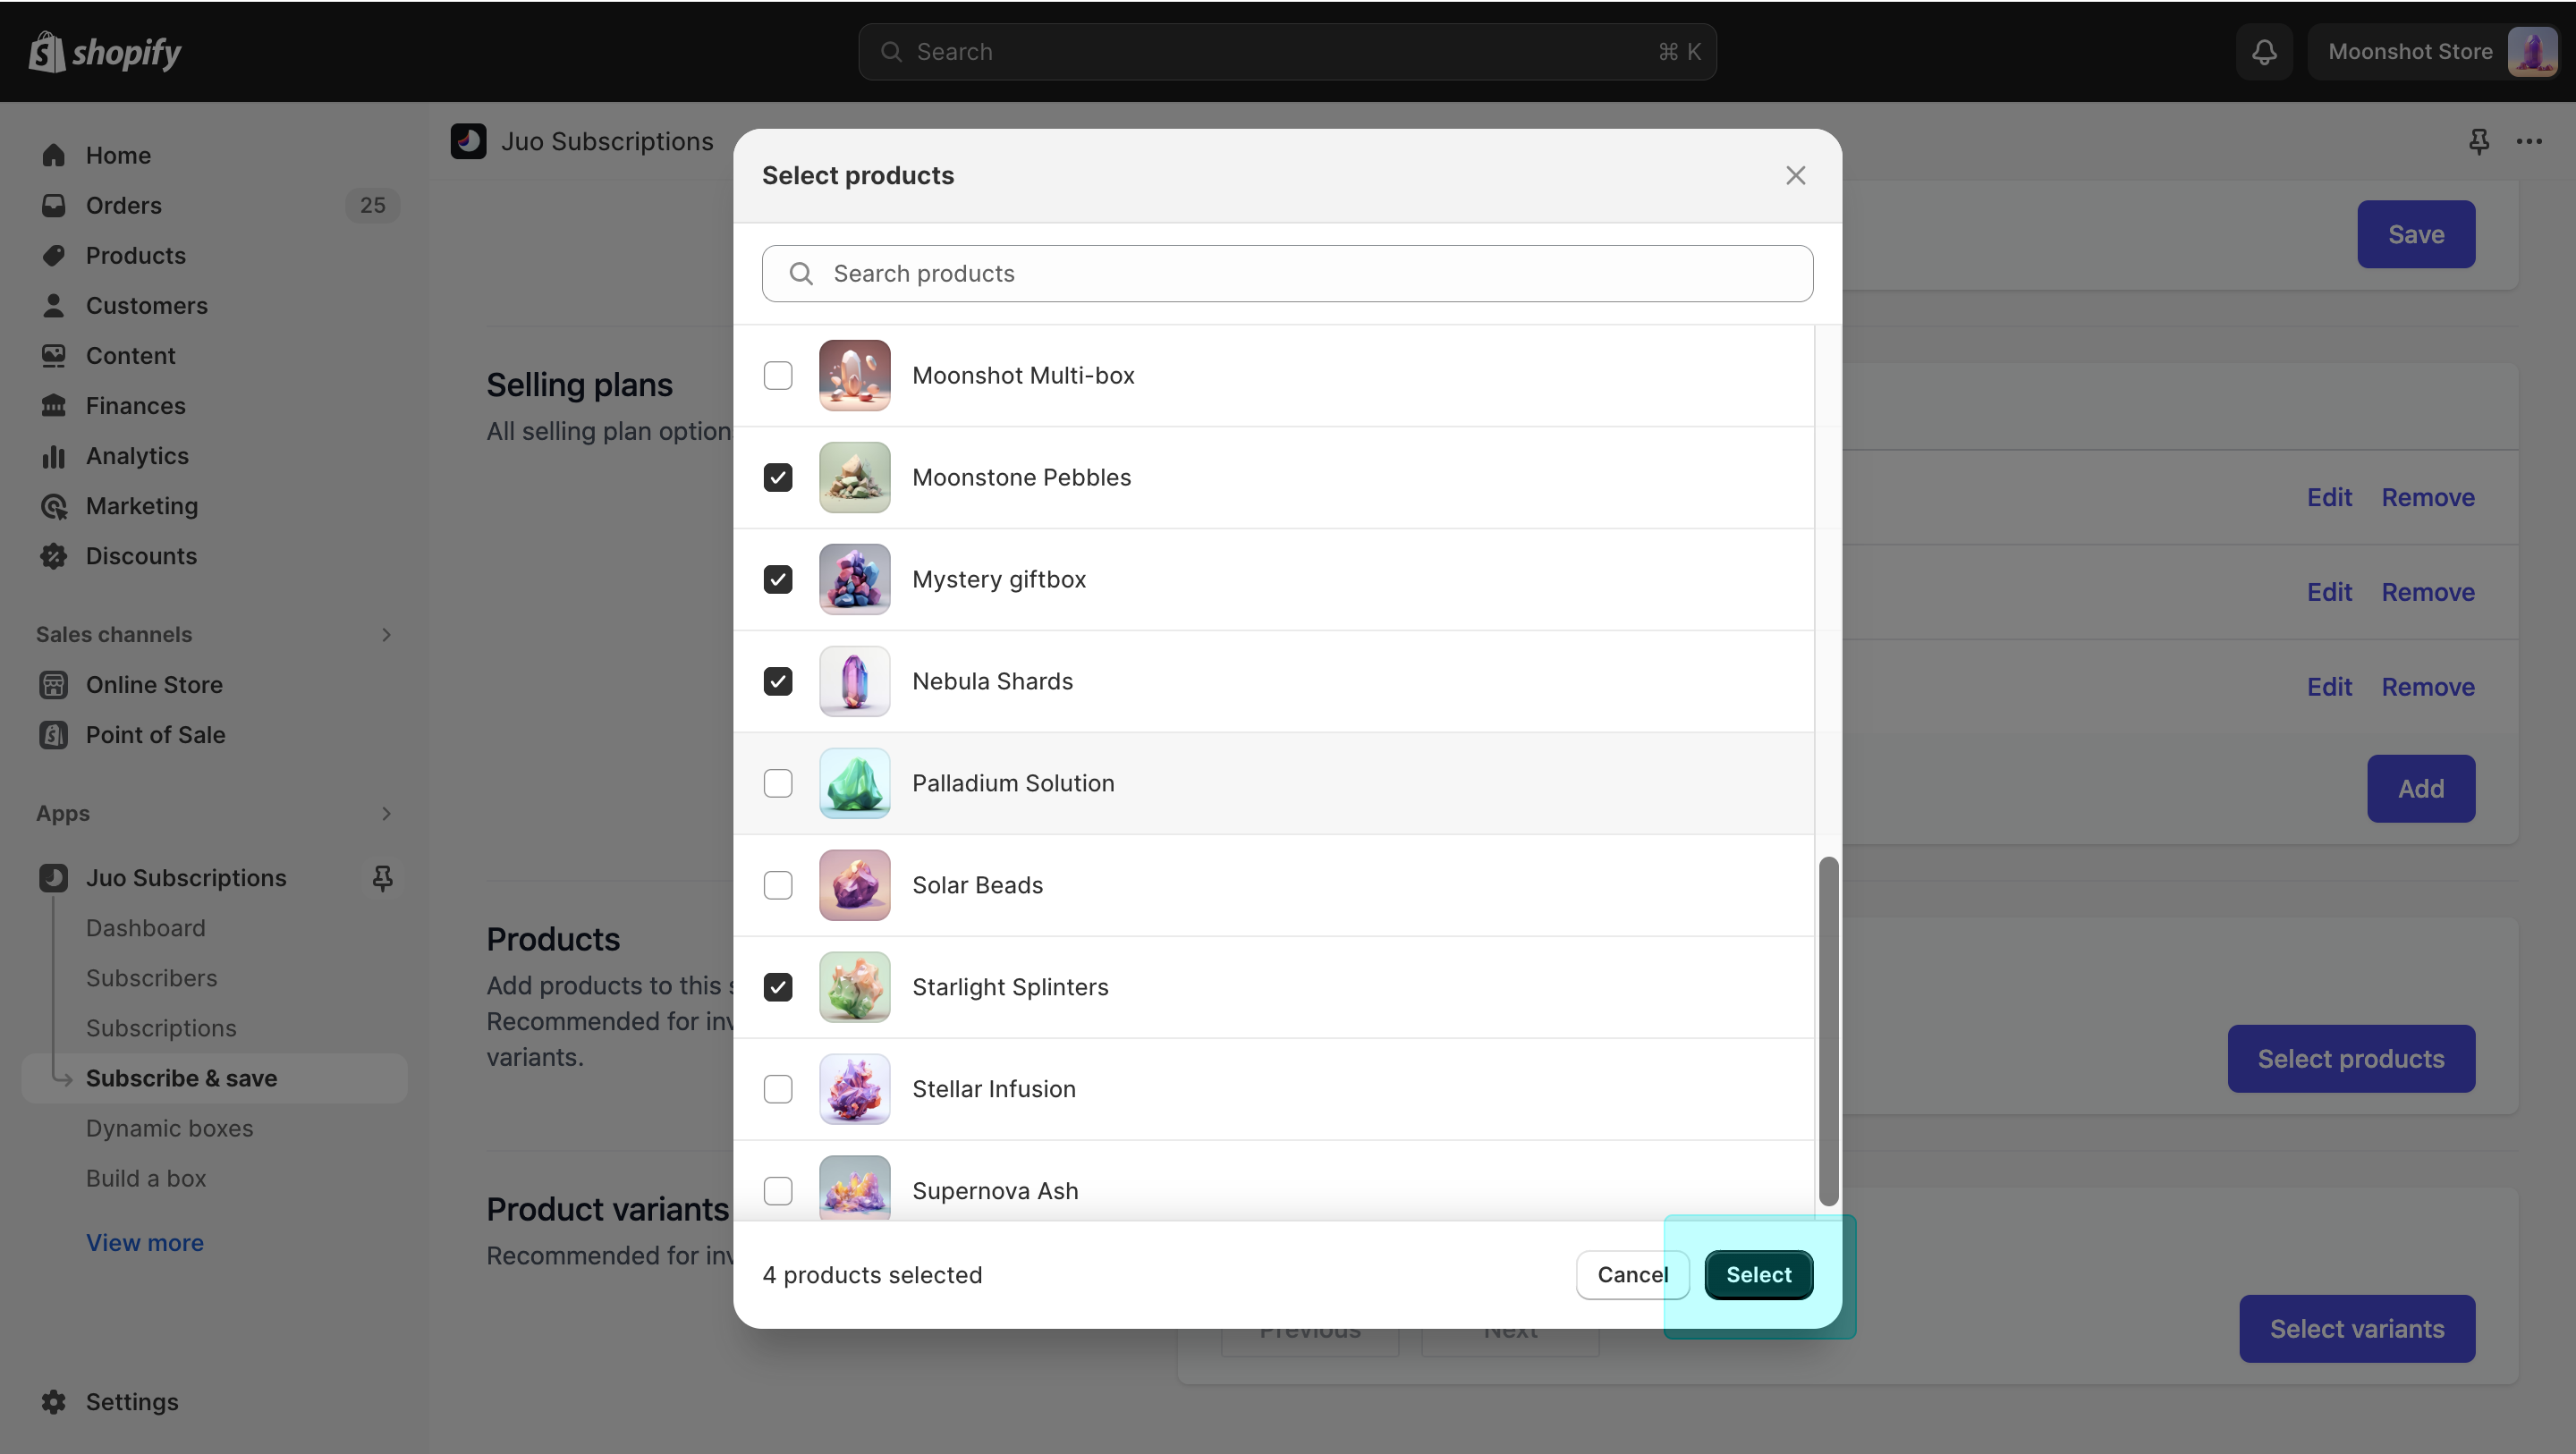
Click the “Select products” button to assign products to a Subscription plan.
You can choose between adding products and product variants to the purchase options
you’re creating. Using products is recommended for stores that don’t operate on product
variants or for adding all product variants at once. If you want to select specific
variants, you can add them under Product variants.
If you’d like to offer different delivery intervals or discounts for different products, add another Subscription plan and assign these products to it.
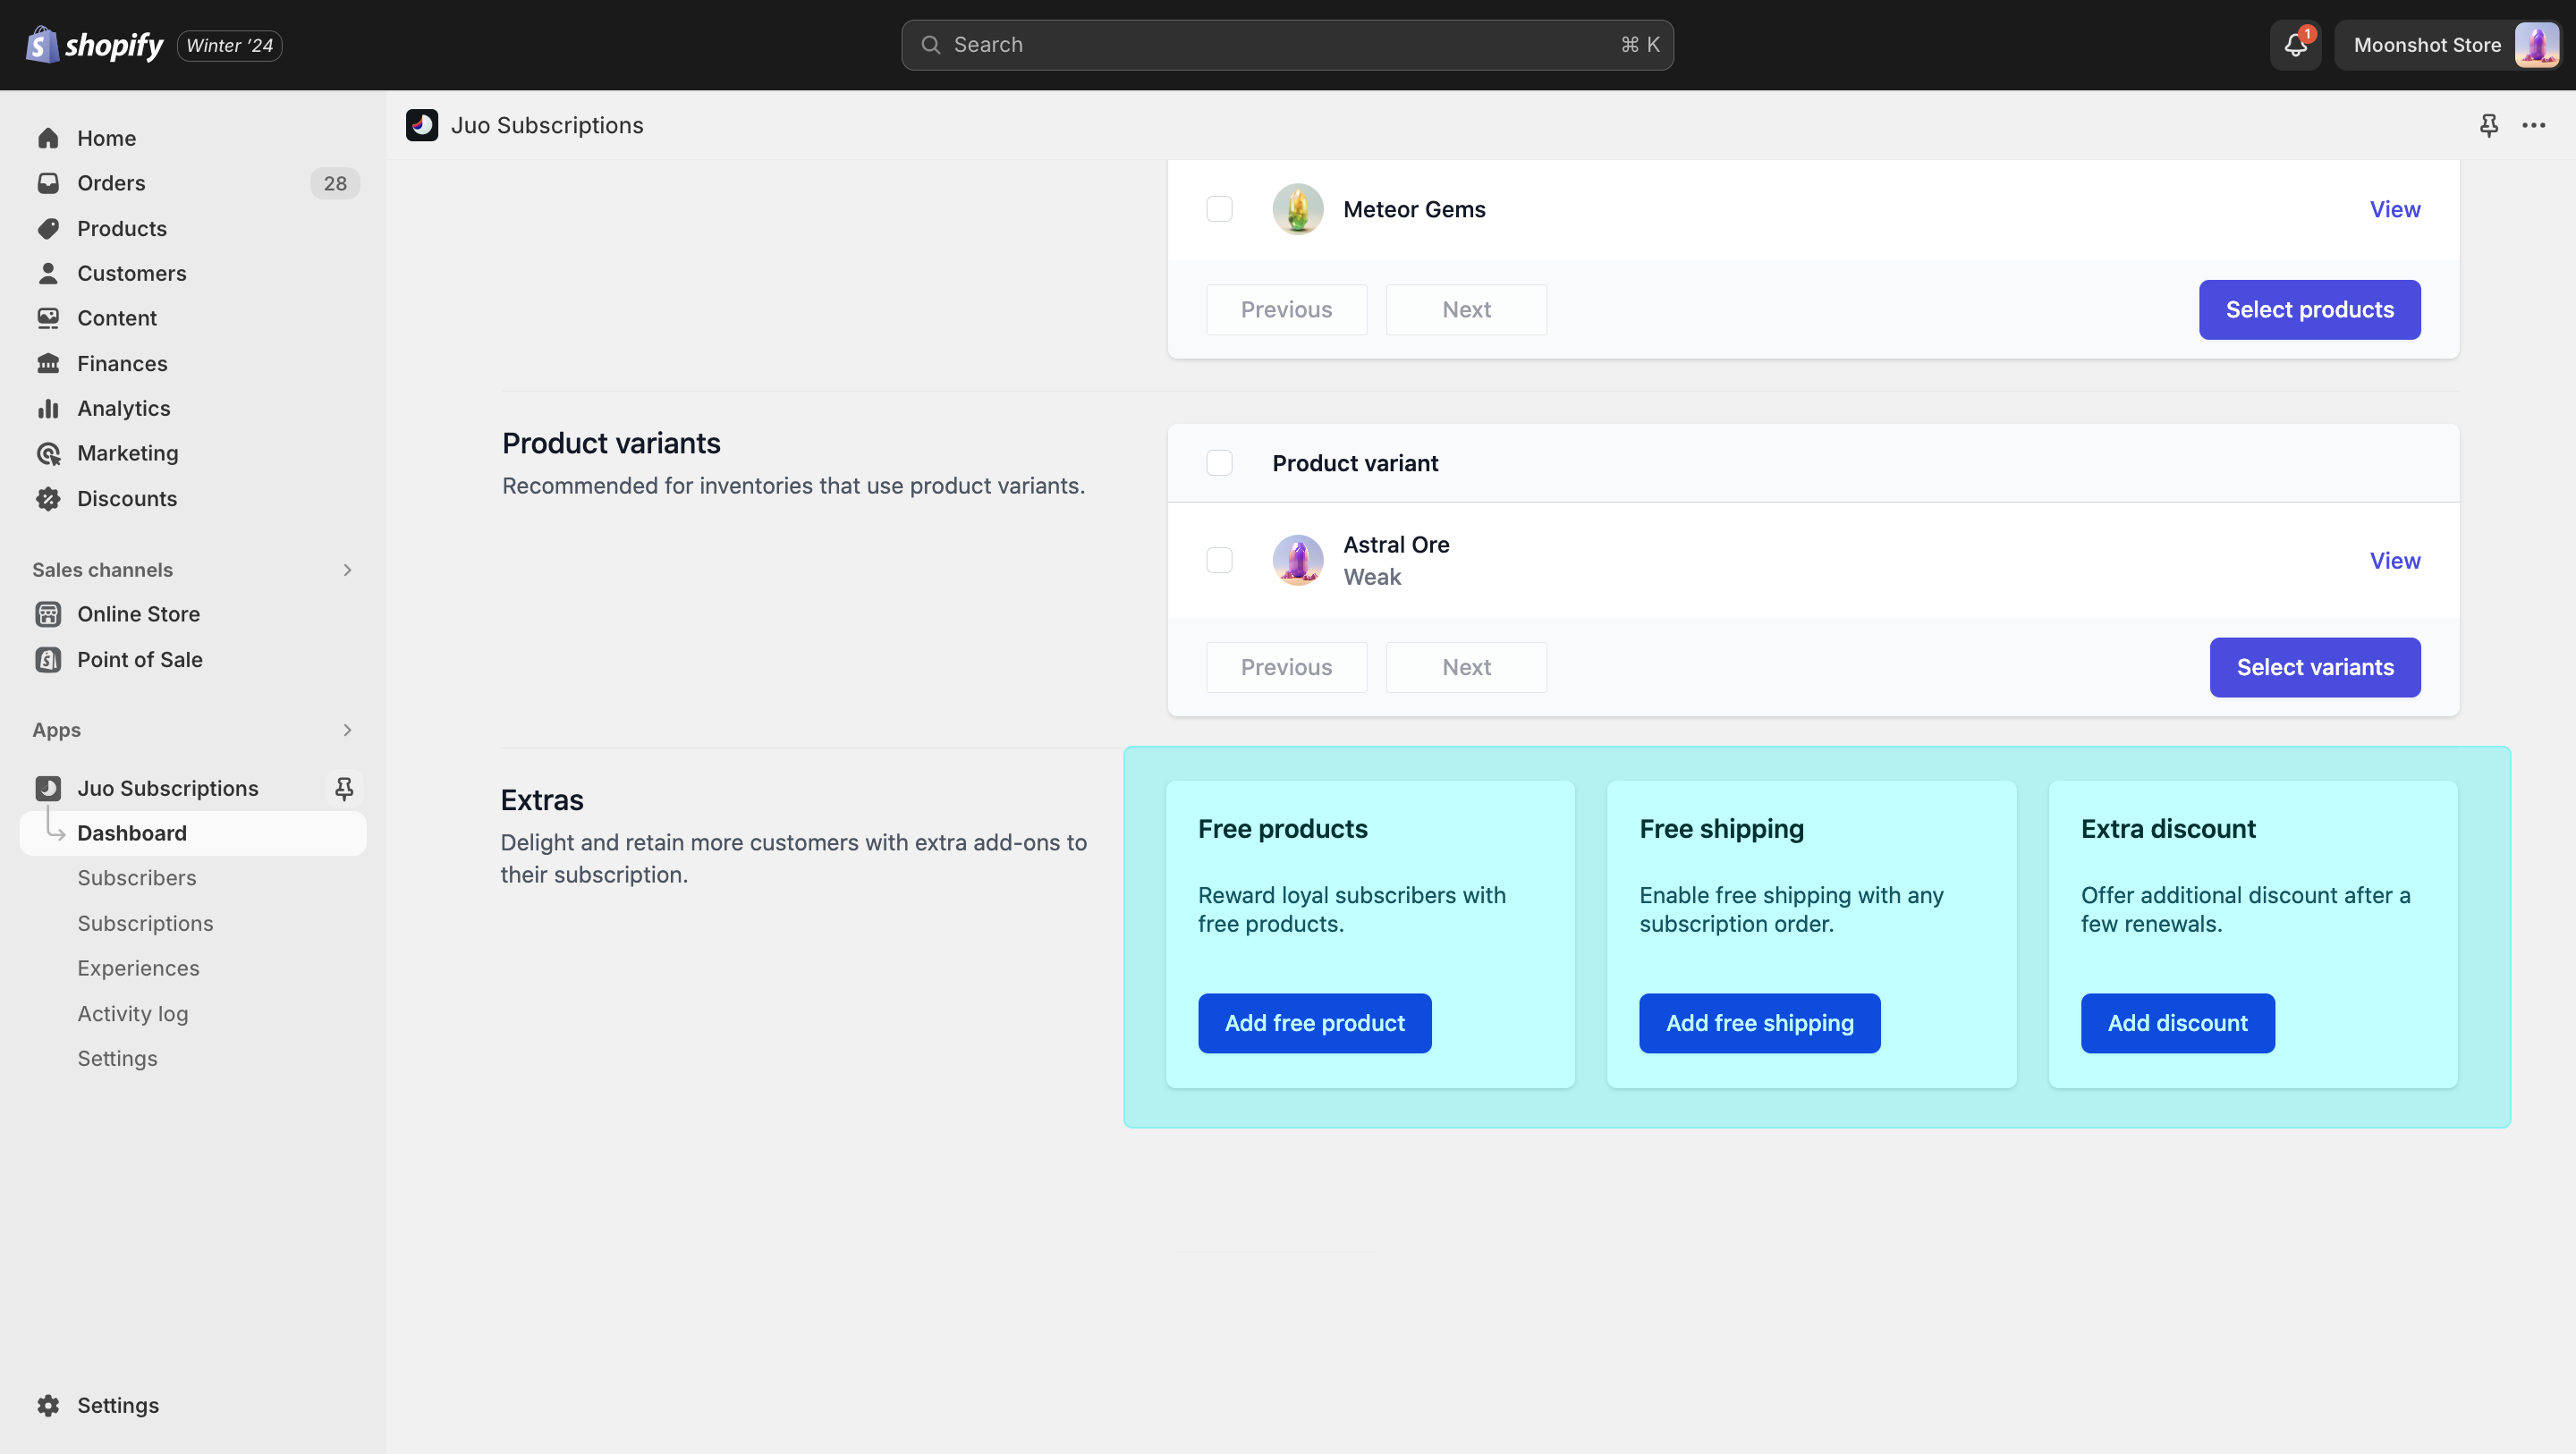
Extras allow you to boost your subscribers’ experience with surprise value-adds, added on top of the existing subscription benefits. You can choose free products, an additional discount or free shipping and have them added to any subscription cycle or cycles you want except the initial order.
For example, you can set up a free product to be added for all subscribers receiving their second subscription order. Or, you can choose to apply an extra 5% discount from the 4th order onward.
Extras will be automatically added to all new and existing subscription orders sold under a subscription plan that you choose and the cycles that meet the criteria.
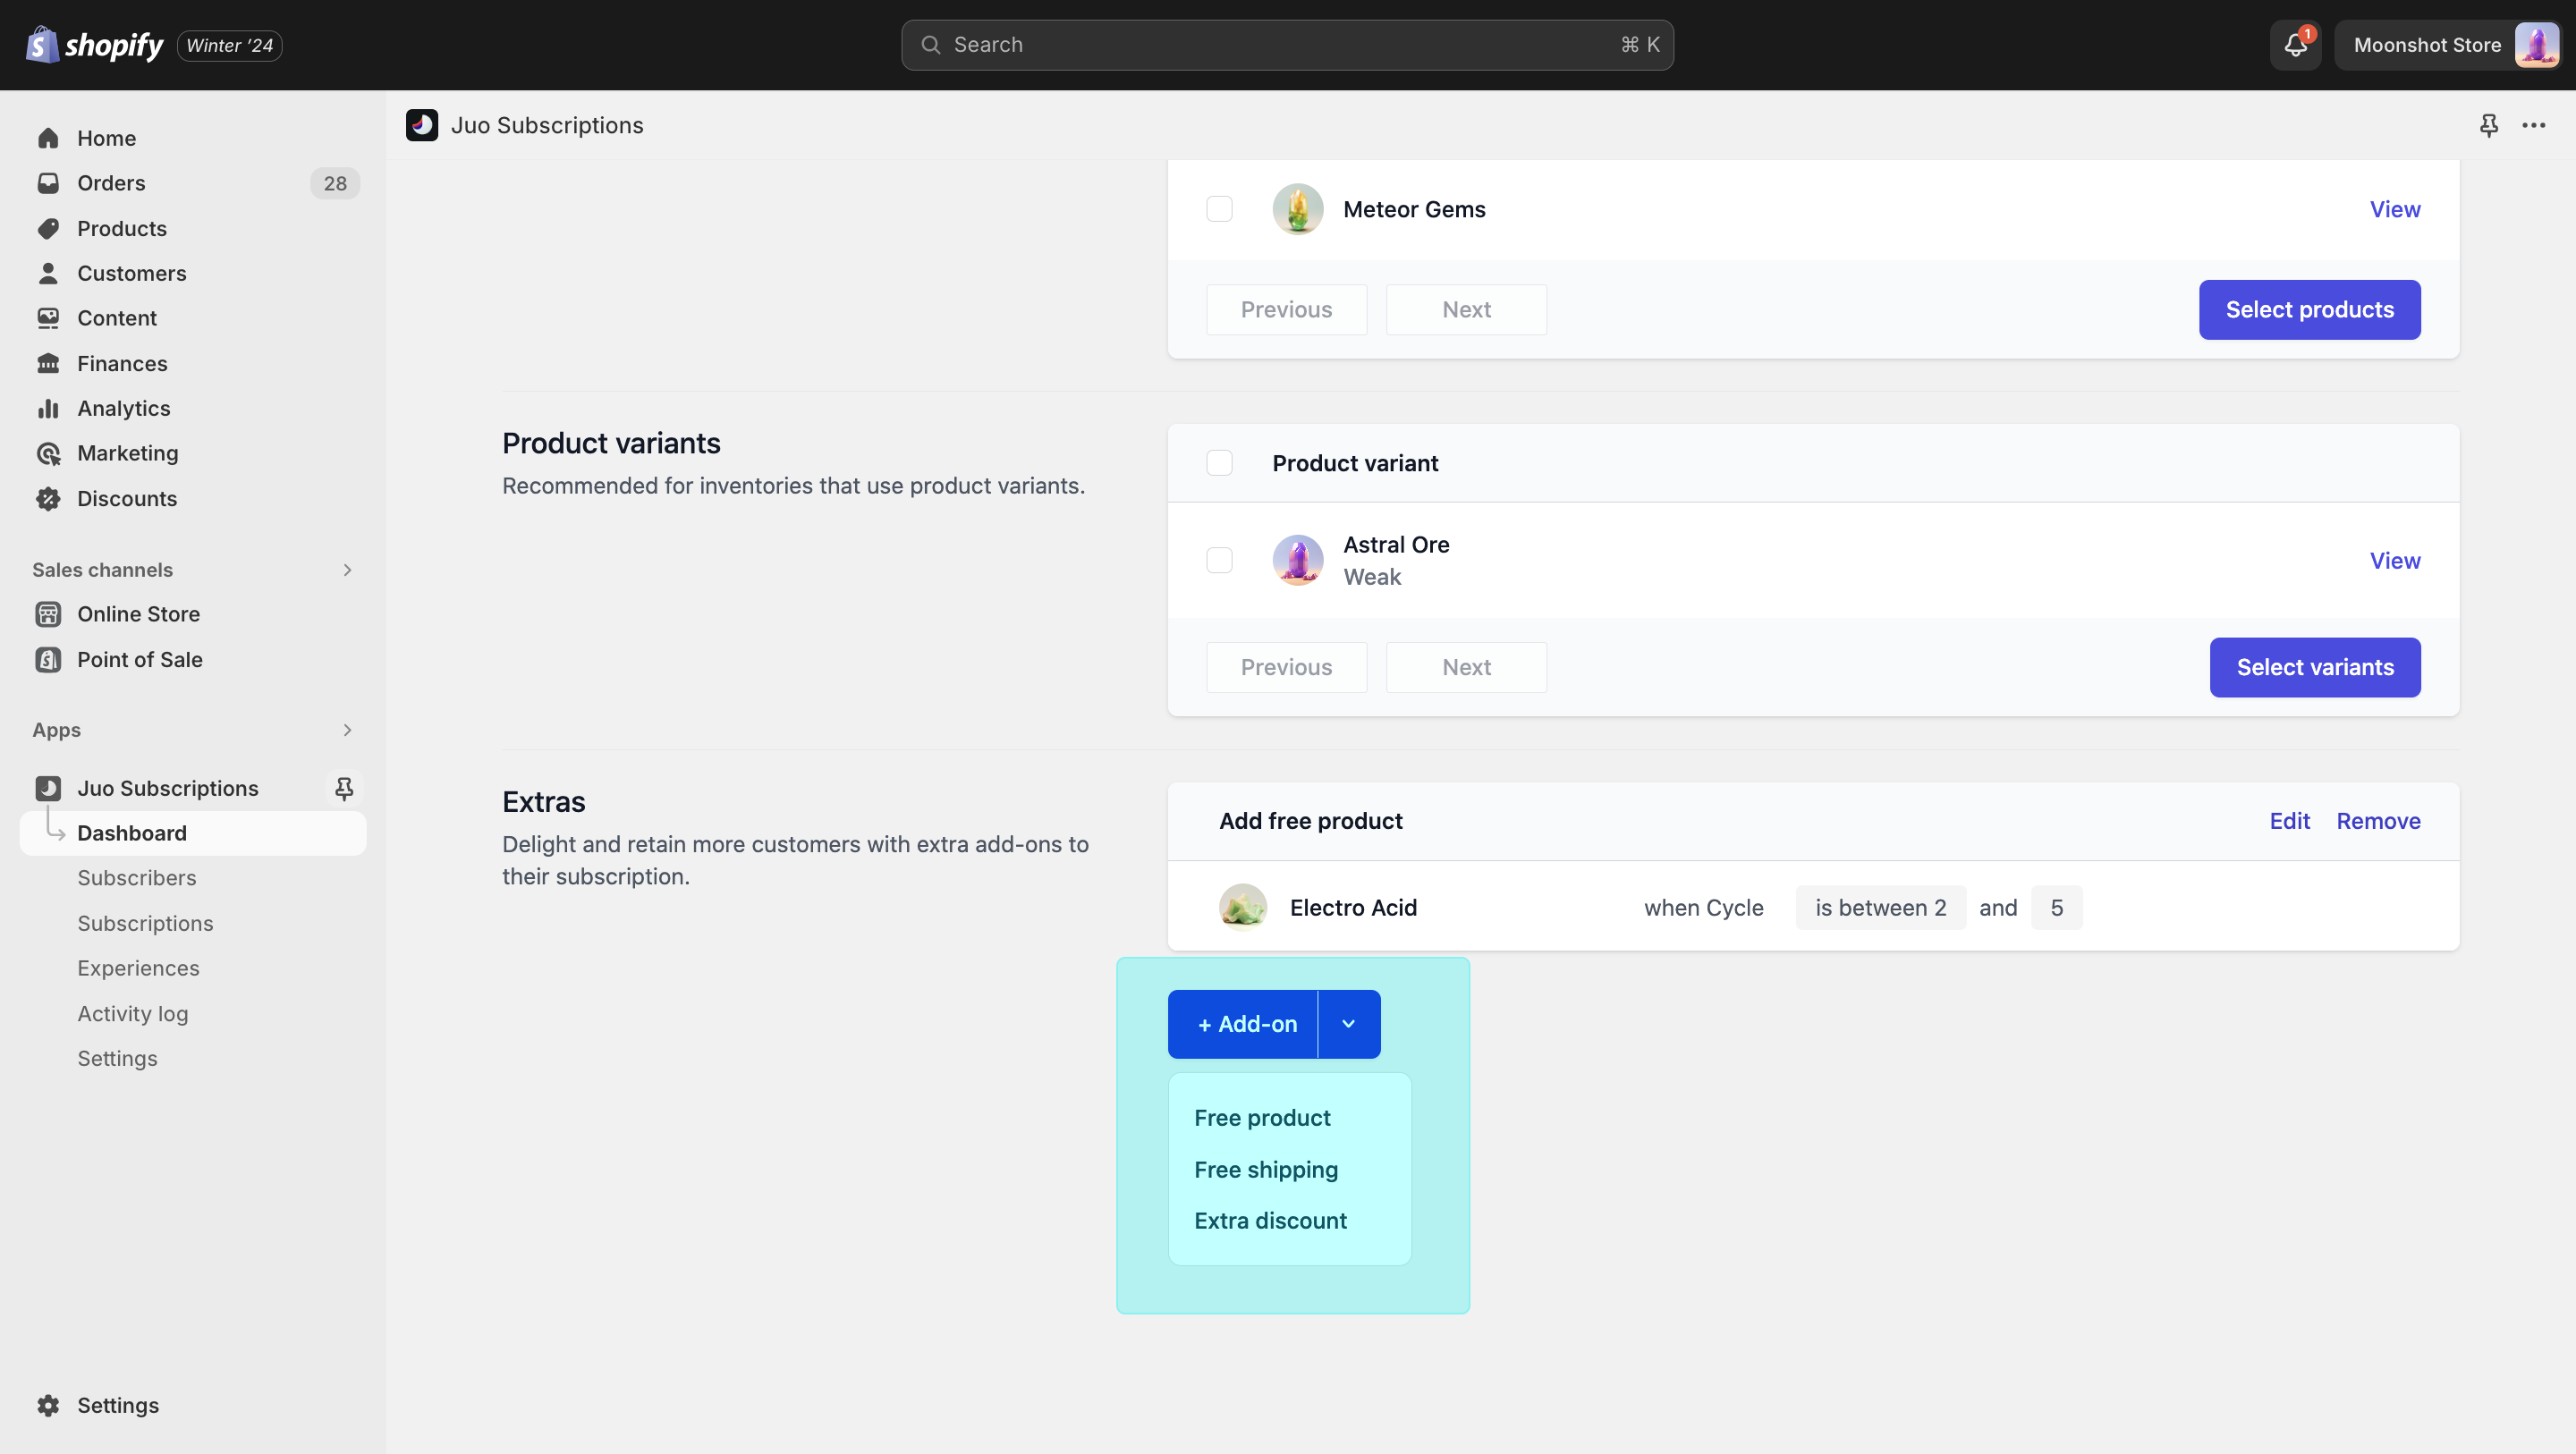
Free product
Free product lets you add a selected product or products to a subscription free of charge.
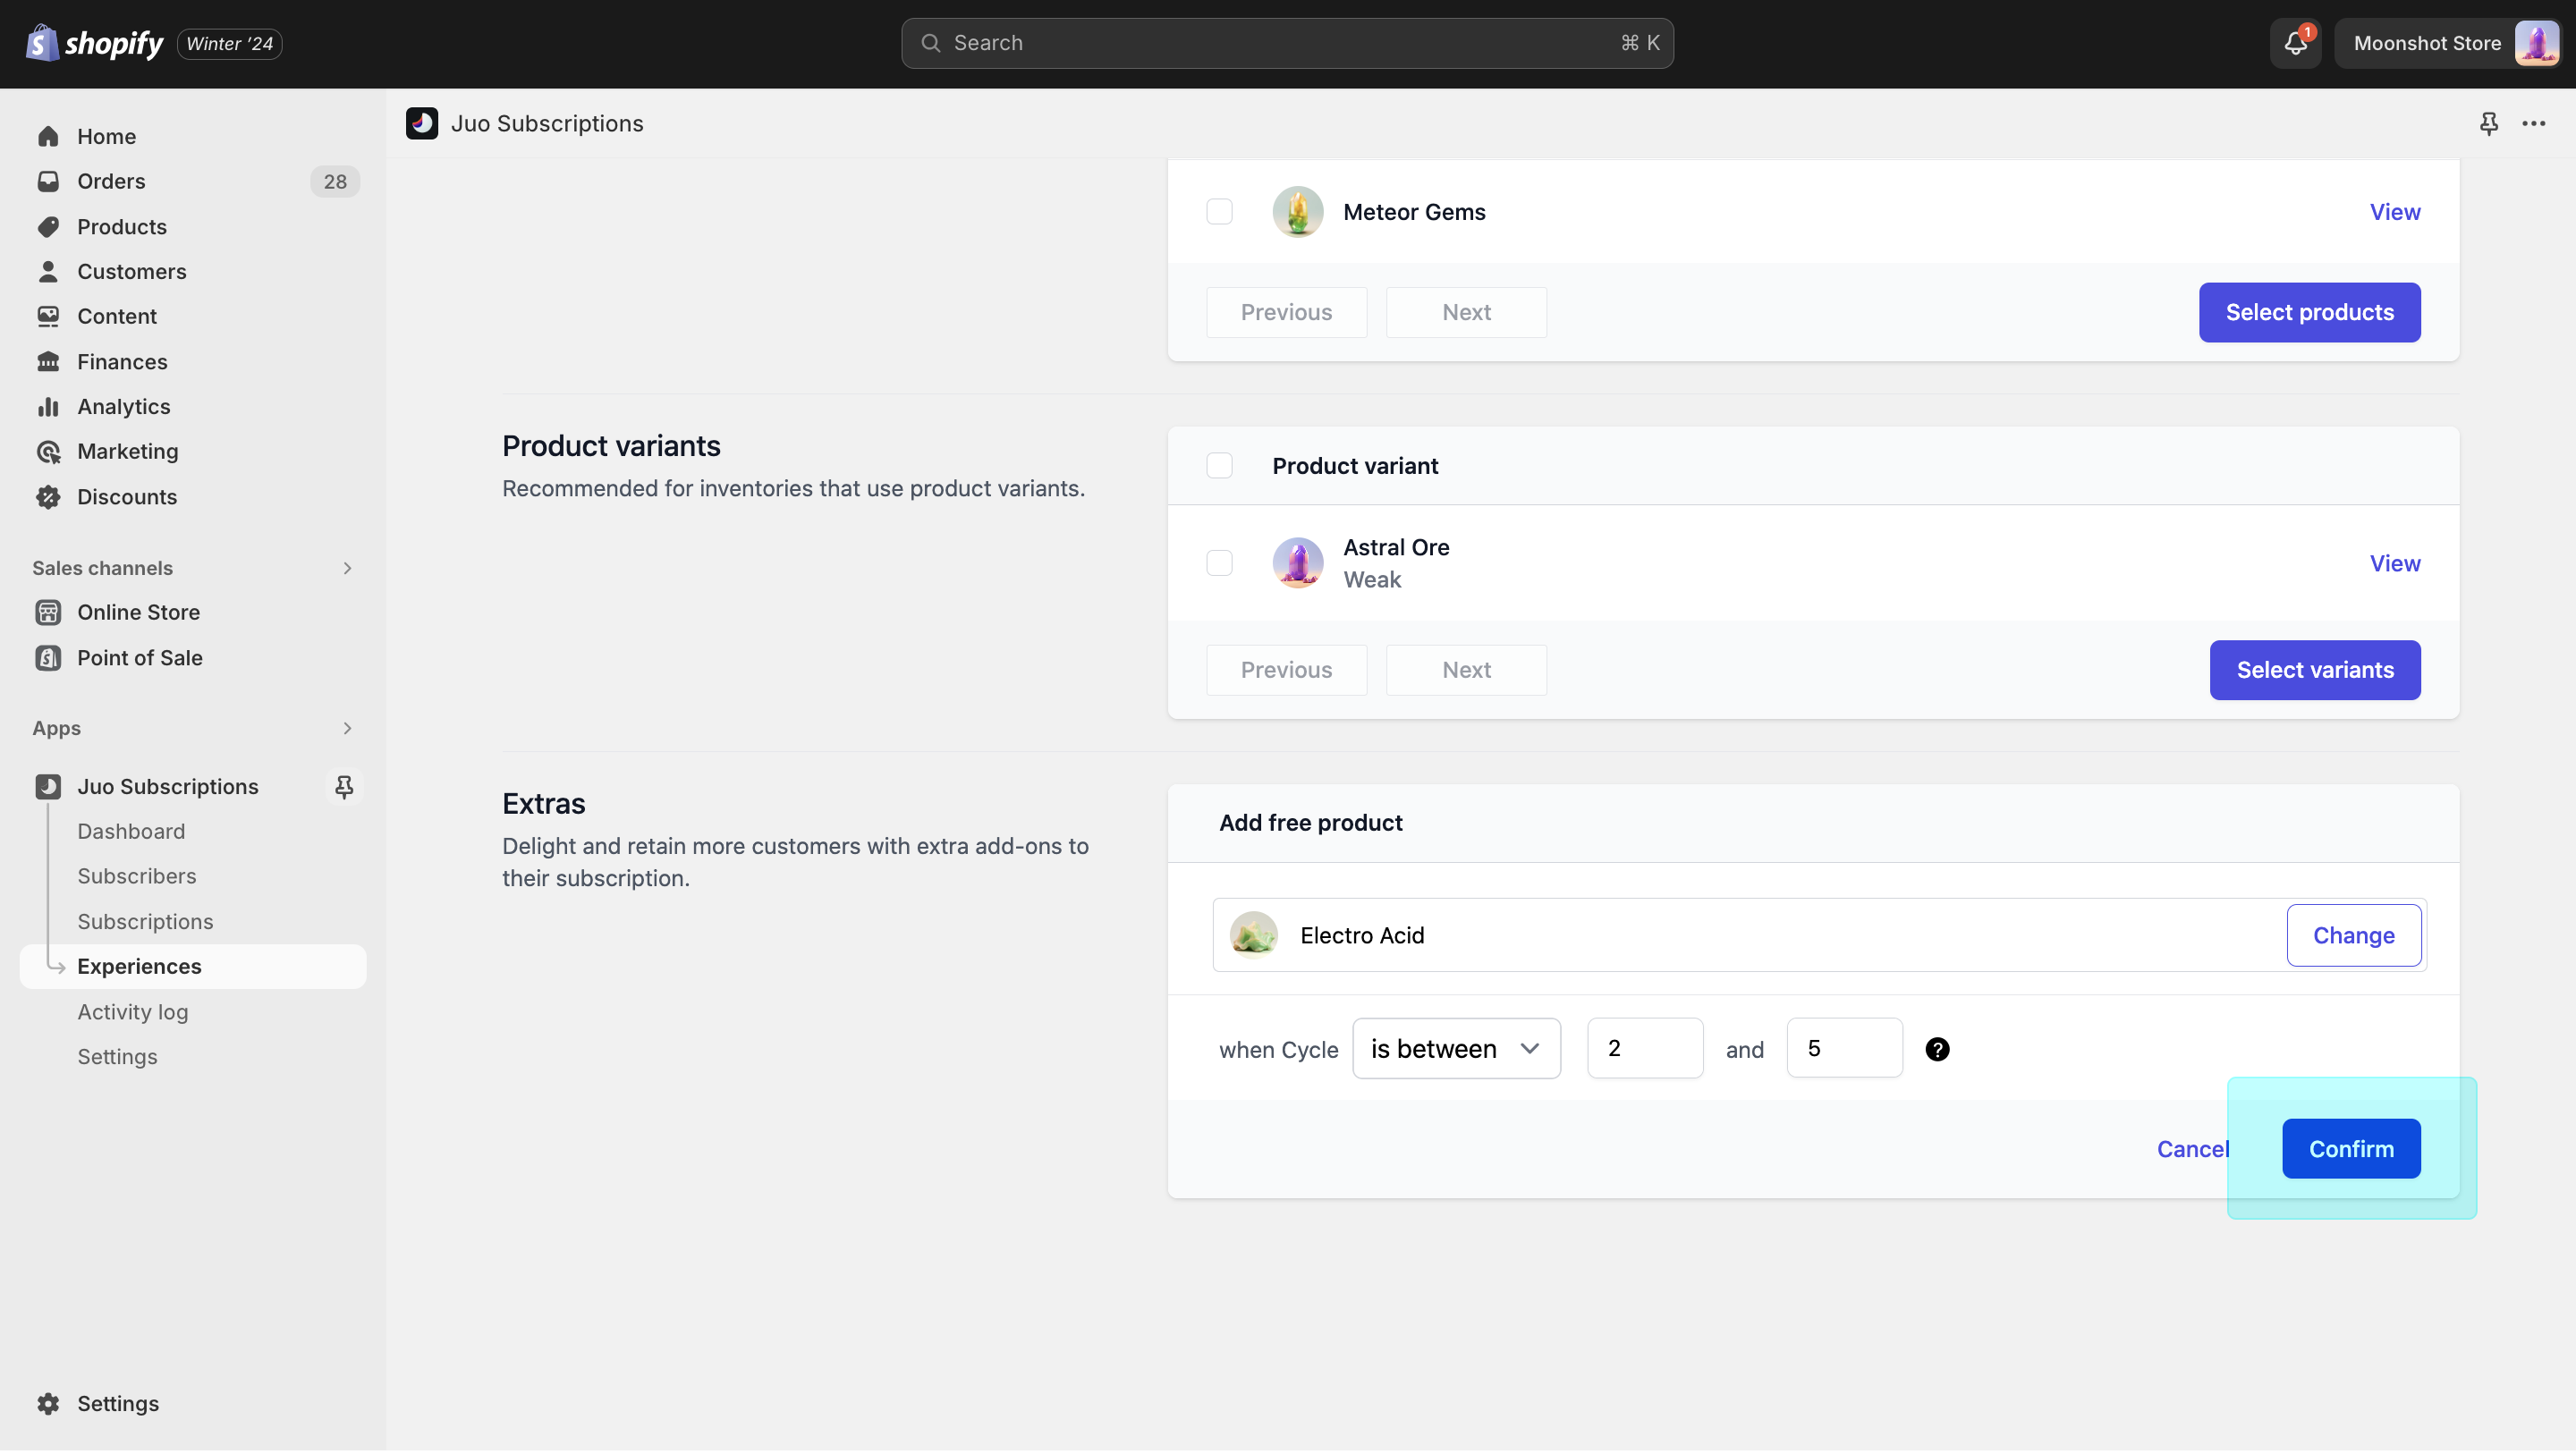
To do so, click on the search bar to open the product selection window and select the product you’d like to add. Once the product is selected, it’s time to choose to which cycles the product will end up being added.
A cycle stands for any subscription order or renewal that takes place in a subscription. So, cycle 1 is the initial order, cycle 2 is the first renewal, and so on. Note that it’s not possible to add a free product to the first cycle.
You can use any of these cycle selectors to specify which orders should include an
extra:
- is - allows to select a specific cycle to which the extra will be added
- is after - allows to add the extra to any cycles following the number provided
- is before - allows to add the extra to any cycles preceding the cycle number
- is between - allows to select a range of cycles between the two cycle numbers you provide
- is not - allows to select a specific cycle to which the extra will not be added
For example, if you decide to add a product to cycles between 2 and 5, it will be automatically added to orders number 3 and 4. If you decide to add a product to cycles before 12, it will be added to all orders from the 1st to the 11th.
As you hit Confirm, the add-on will be saved. You can finish here or you can proceed to add another extra using the Add extras button.
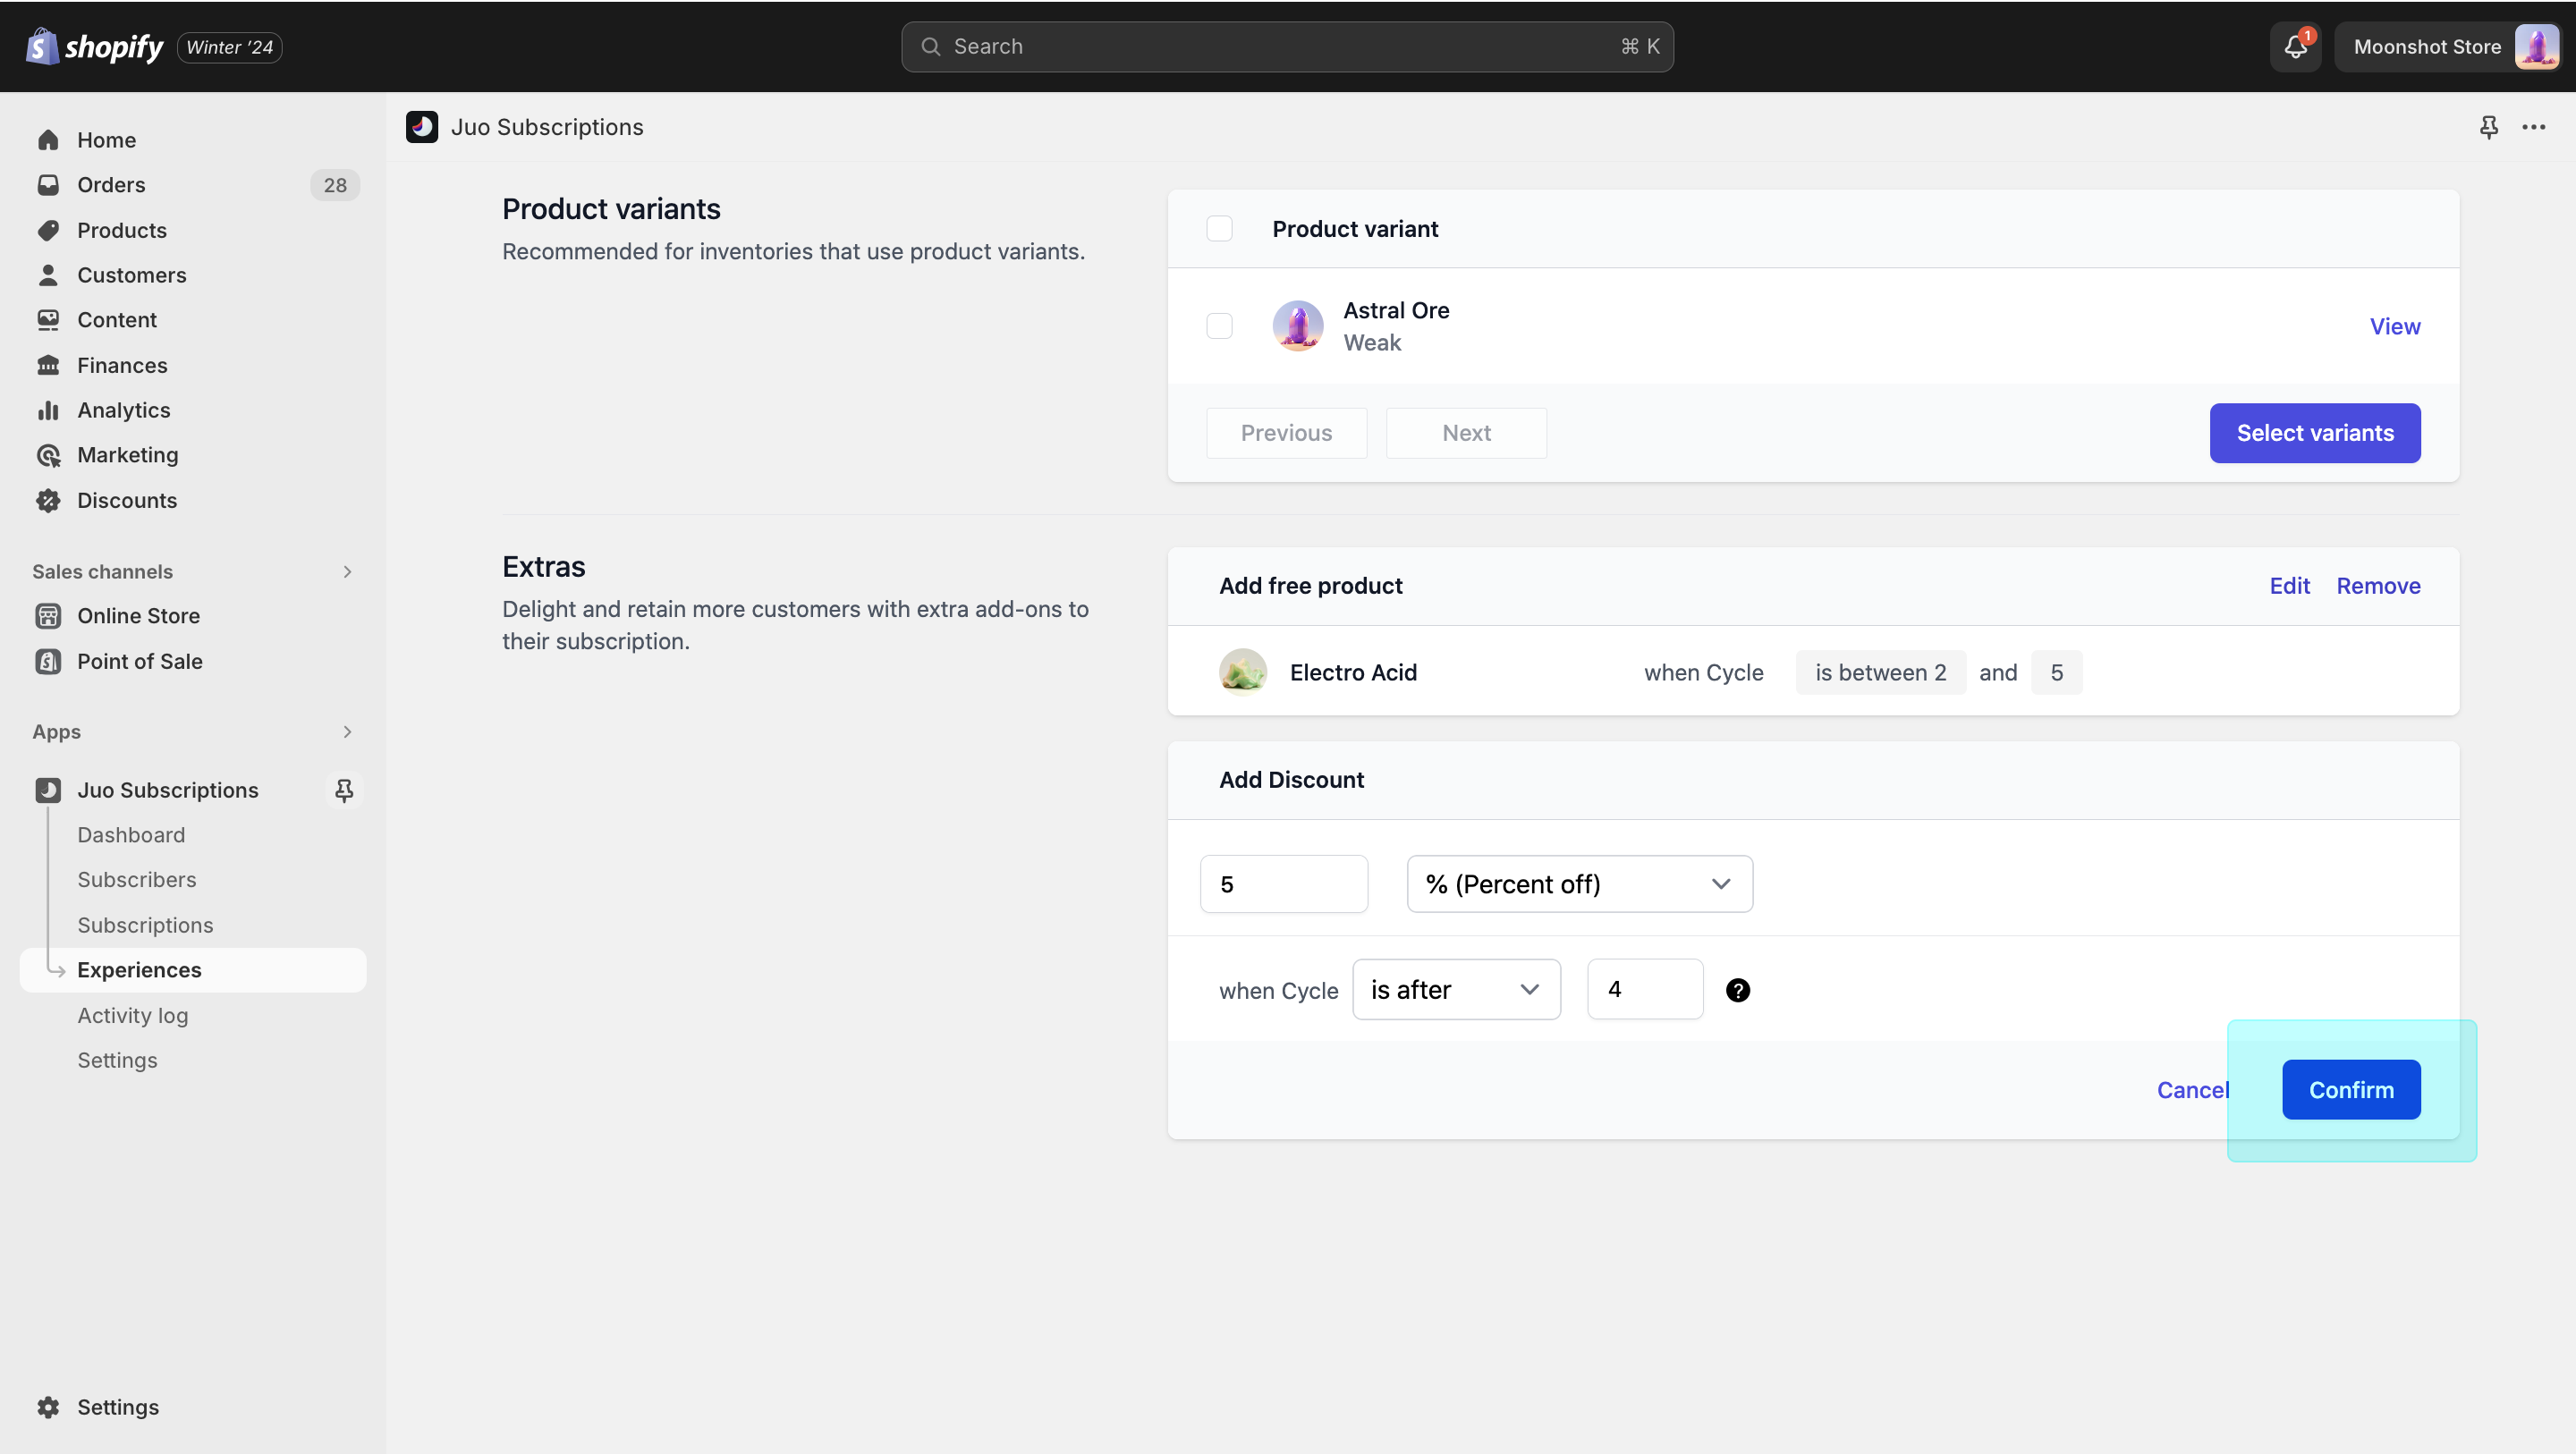
Besides the discounts that come with your subscription plan, you can also throw in some extra discounts after a few renewals to boost your subscribers’ experience and encourage them to stay with you longer.
To add a discount, click on the Add extras button and select Extra discount.
After that, you will be able select the type of the discount you want to offer (percent off or flat) and specify the discount amount.
Next, it’s time decide to which cycles you want the discount to apply. (Refer back to the product section above for more details on how the cycle selection works.
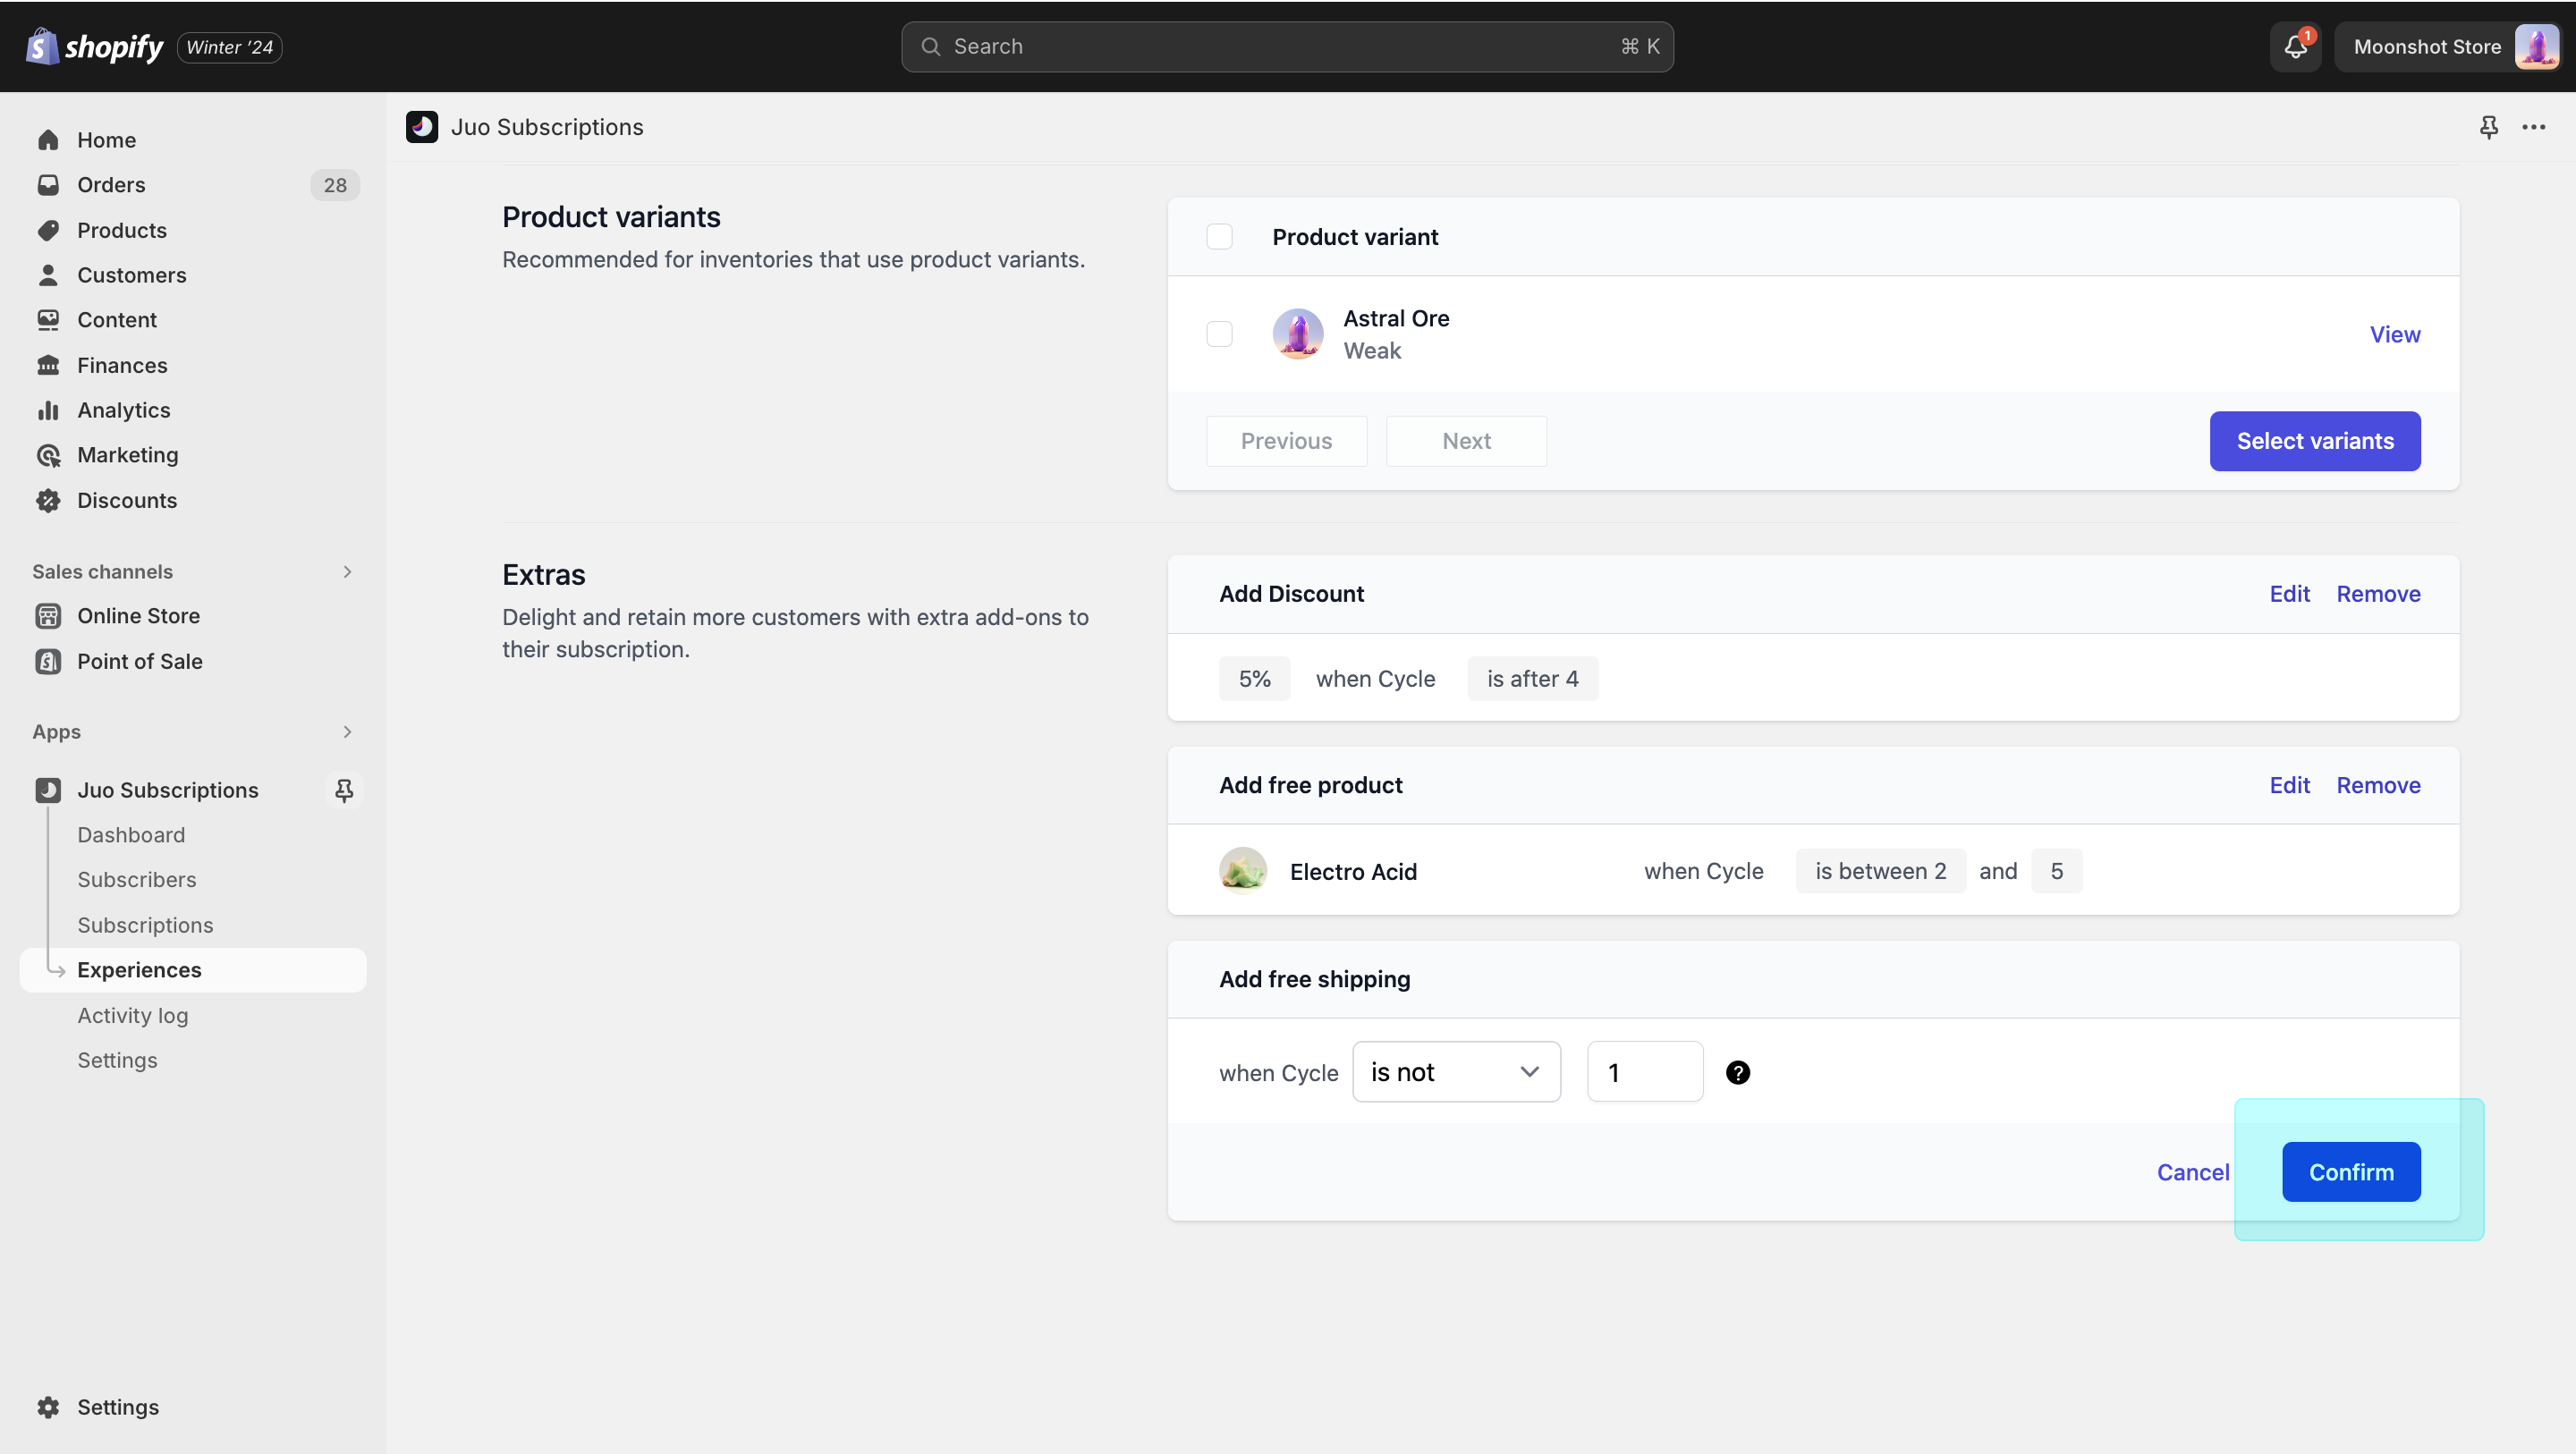
Free shipping
In the same vein, you can add free shipping to any subscription cycle. In this case, click on Add extras and select free shipping from the available Extras.
After that, simply select the cycles to which you want to add free shipping. When you click Confirm, the shipping costs for selected subscription cycles will be reduced to 0.
Edit the Subscription plan
To edit a Subscription plan, navigate back to the Offers > Subscribe and save and click the “Edit” button next to the plan name.
Purchase options
You can edit the purchase options by clicking “Edit” again next to the plan title. The modal that appears will let you go through and modify any of the properties you set during the plan creation.
Once you’re done with the changes, click “Save” at the bottom of the modal to make sure your changes are applied.
Products and product variants
You can reassign new products and product variants to a subscription plan, by clicking on “Select products” under Products or Product variants.
Once the products are re-assigned, click “Confirm” on the modal that appears to apply the changes you’ve just made.