 Using Memberships, you can create and run your own premium clubs (similar to Amazon Prime or Allegro Smart) with free deliveries or discounts on your products as the main incentives. Except for custom implementations, we’re pretty sure you won’t find this feature anywhere else!
Add a membership product
In order to offer Memberships, you need a membership parent product first. The parent product for Memberships will be a virtual product that represents what your customers will be purchasing — the access to your Membership program in this case. When adding the new product to your inventory, make it a virtual product. Uncheck “Track product quantity” and “This product requires shipping” in the Shopify settings. Once done, Save the new product.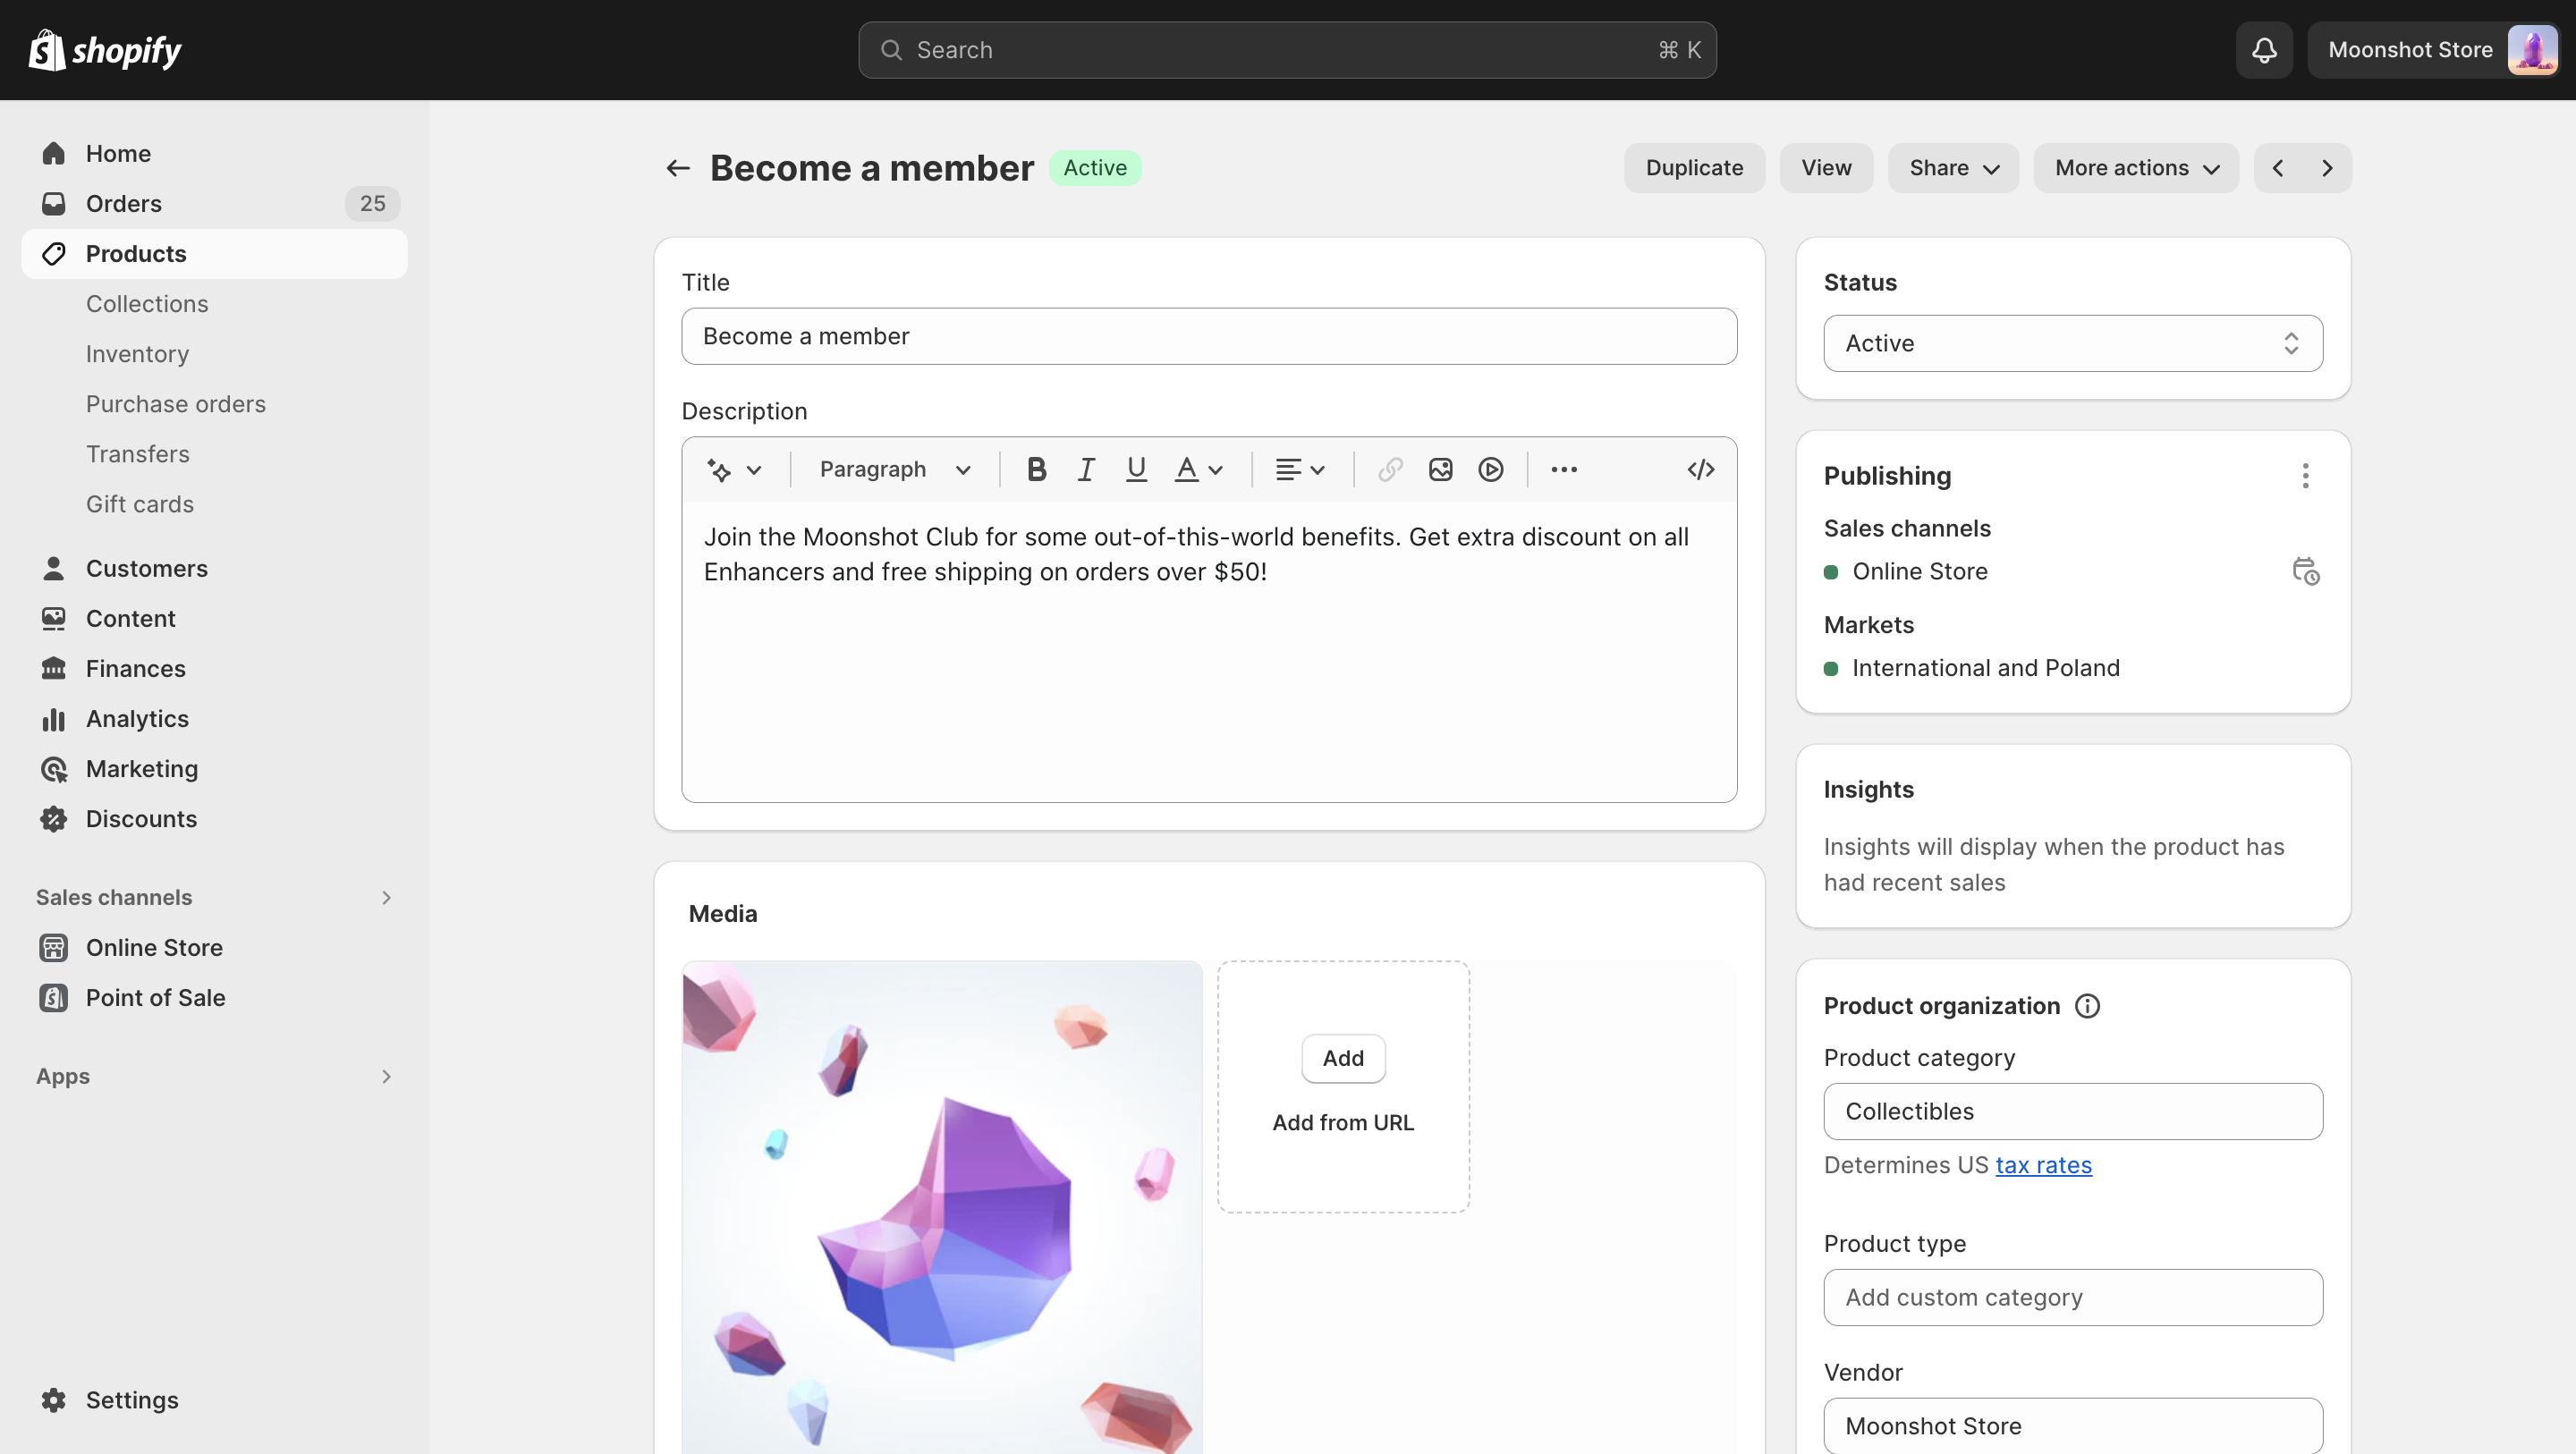
Add the product to a selling plan
Next, you need to add the membership parent product to a suitable selling plan in Juo. Memberships are usually offered on a monthly basis, but you can adjust the renewal frequency flexibly to your needs. You can find out more on how to set up a selling plan here.
Add multiple Membership plans
Apart from offering one and the same Membership program to all your customers, you can create a Membership offer with a few plans or tiers your customers will be able to choose from. For example, you can enable a few different Memberships tiers with different durations, different purchase options, or different price ranges.Create parent product variants
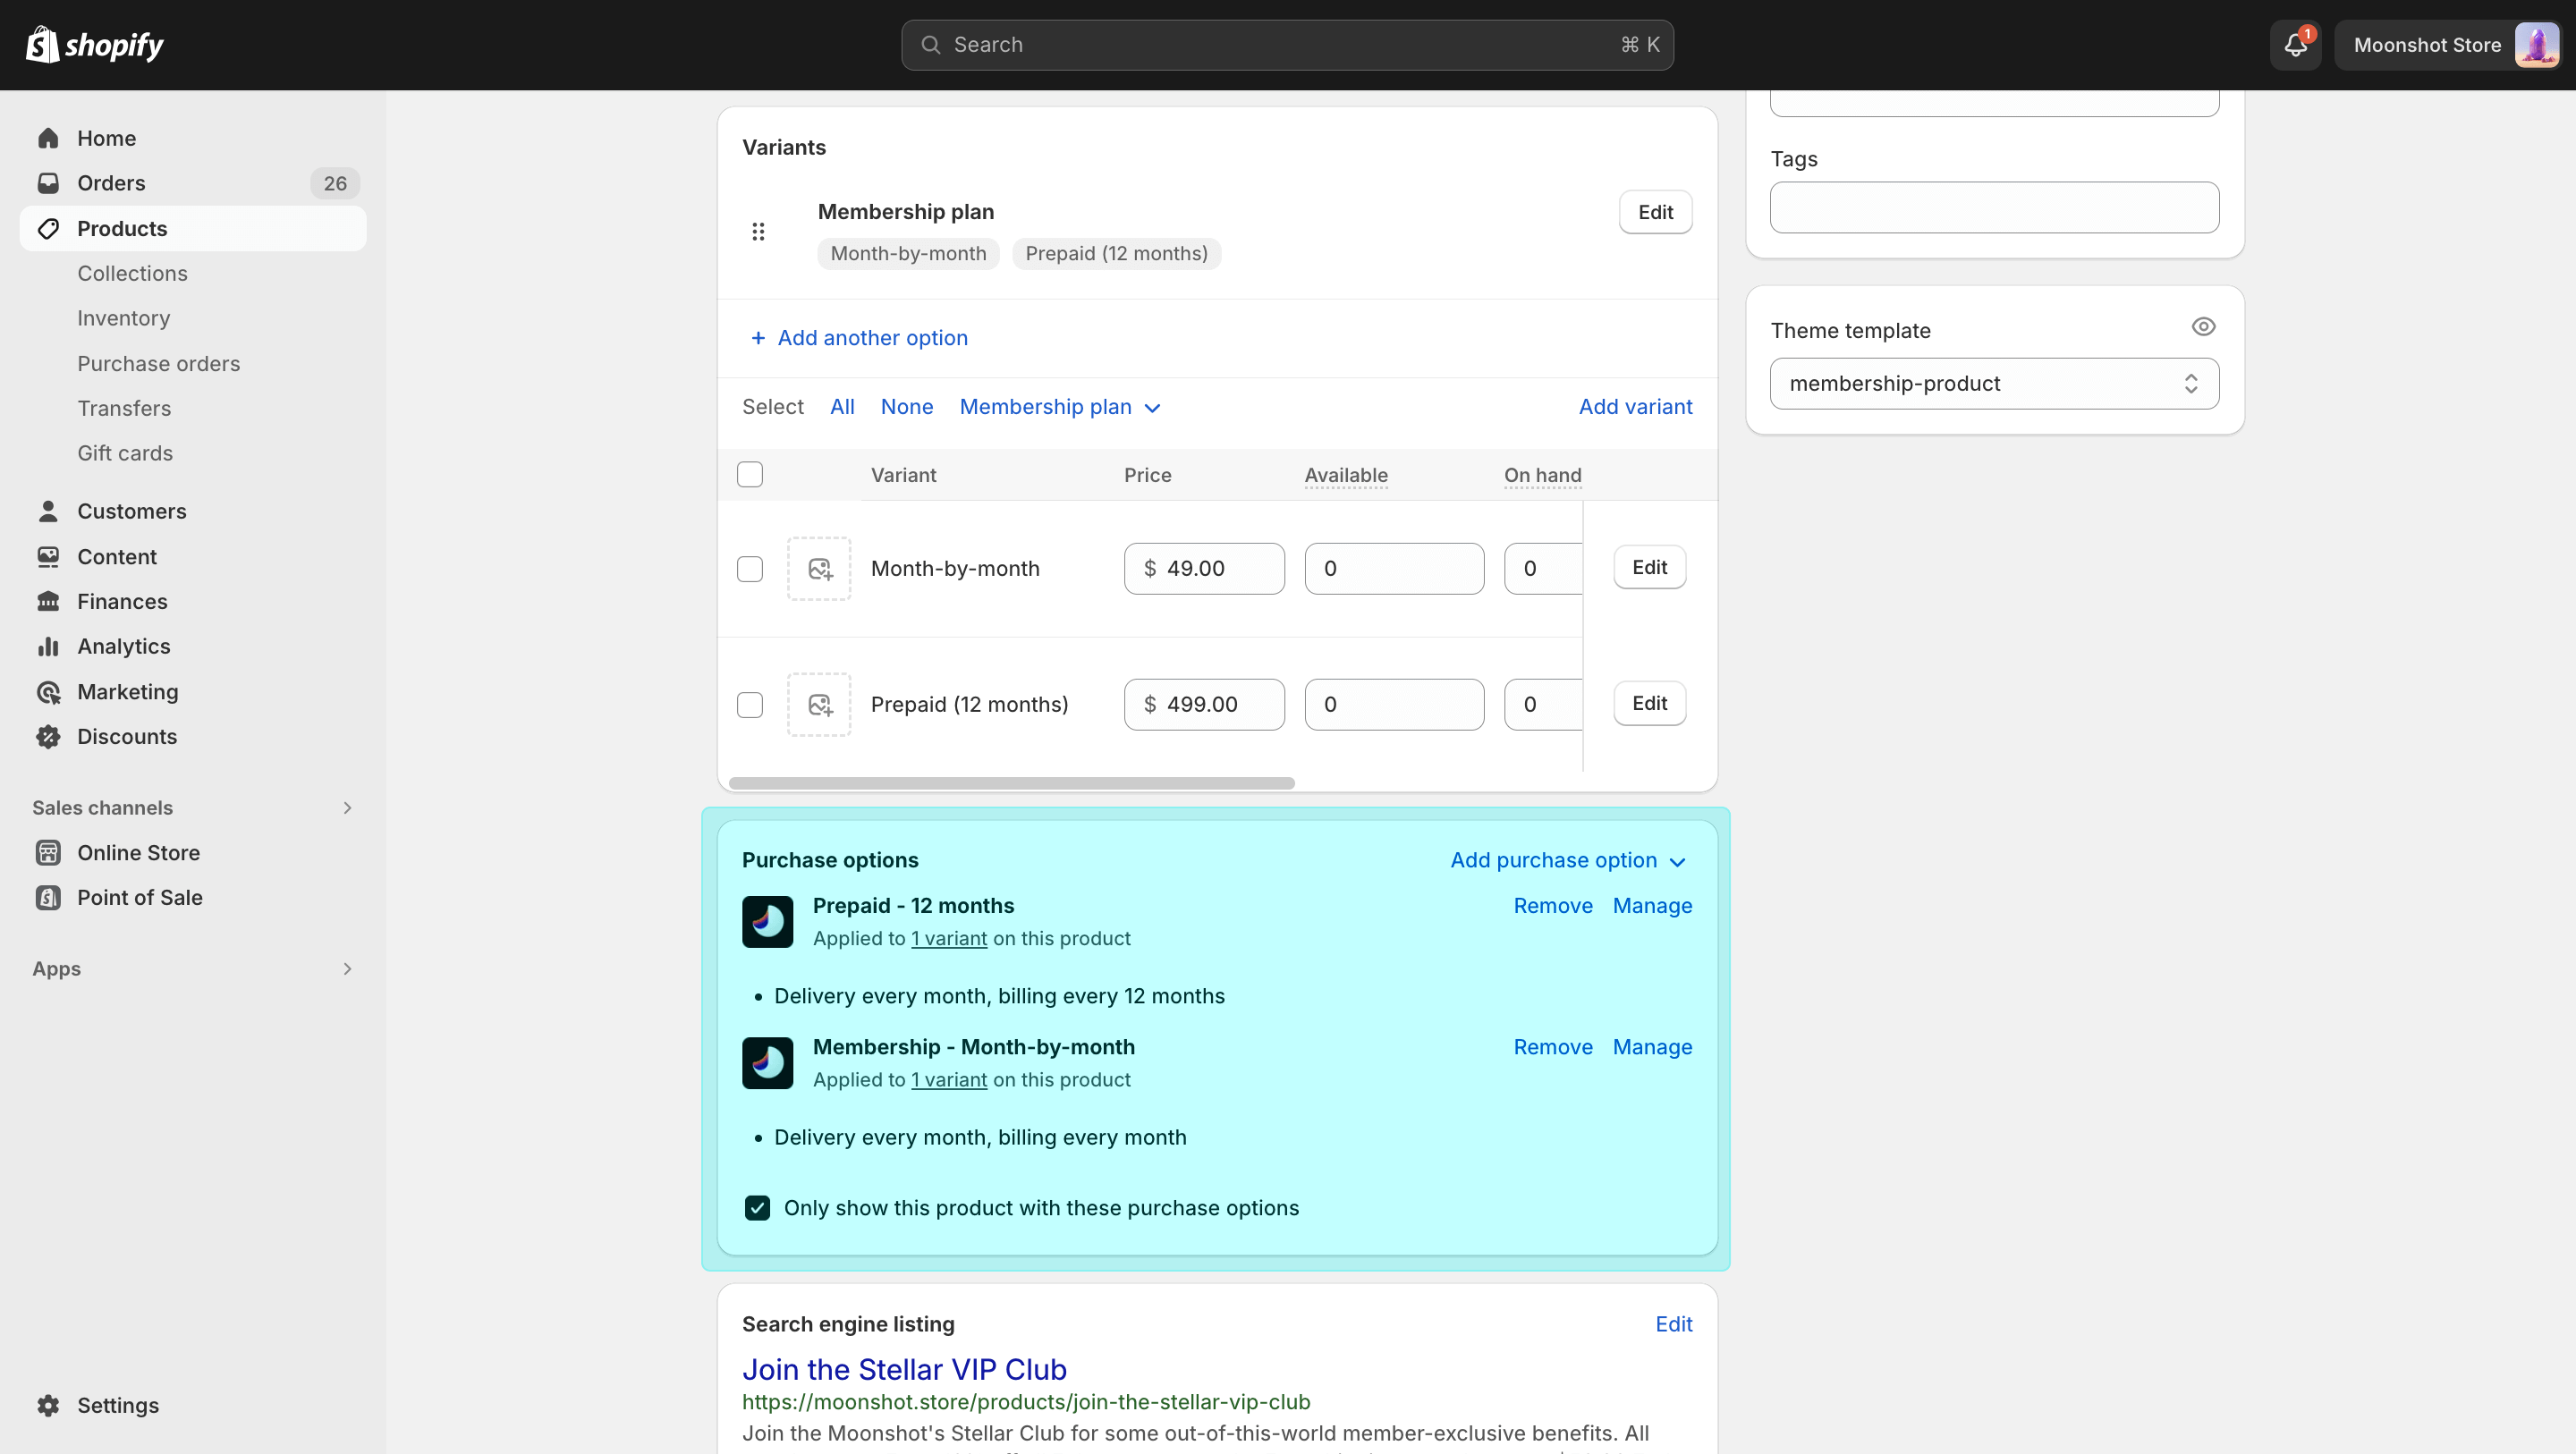
To offer Memberships with a few plans or tiers, you need to create product variants for the membership parent product and assign specific prices to them. These variants are going to represent the Membership plans or tiers your customers can choose from. So, if you want to create a prepaid option for your Membership program, alongside the regular month-by-month payments, create the corresponding two variants under the membership parent product first.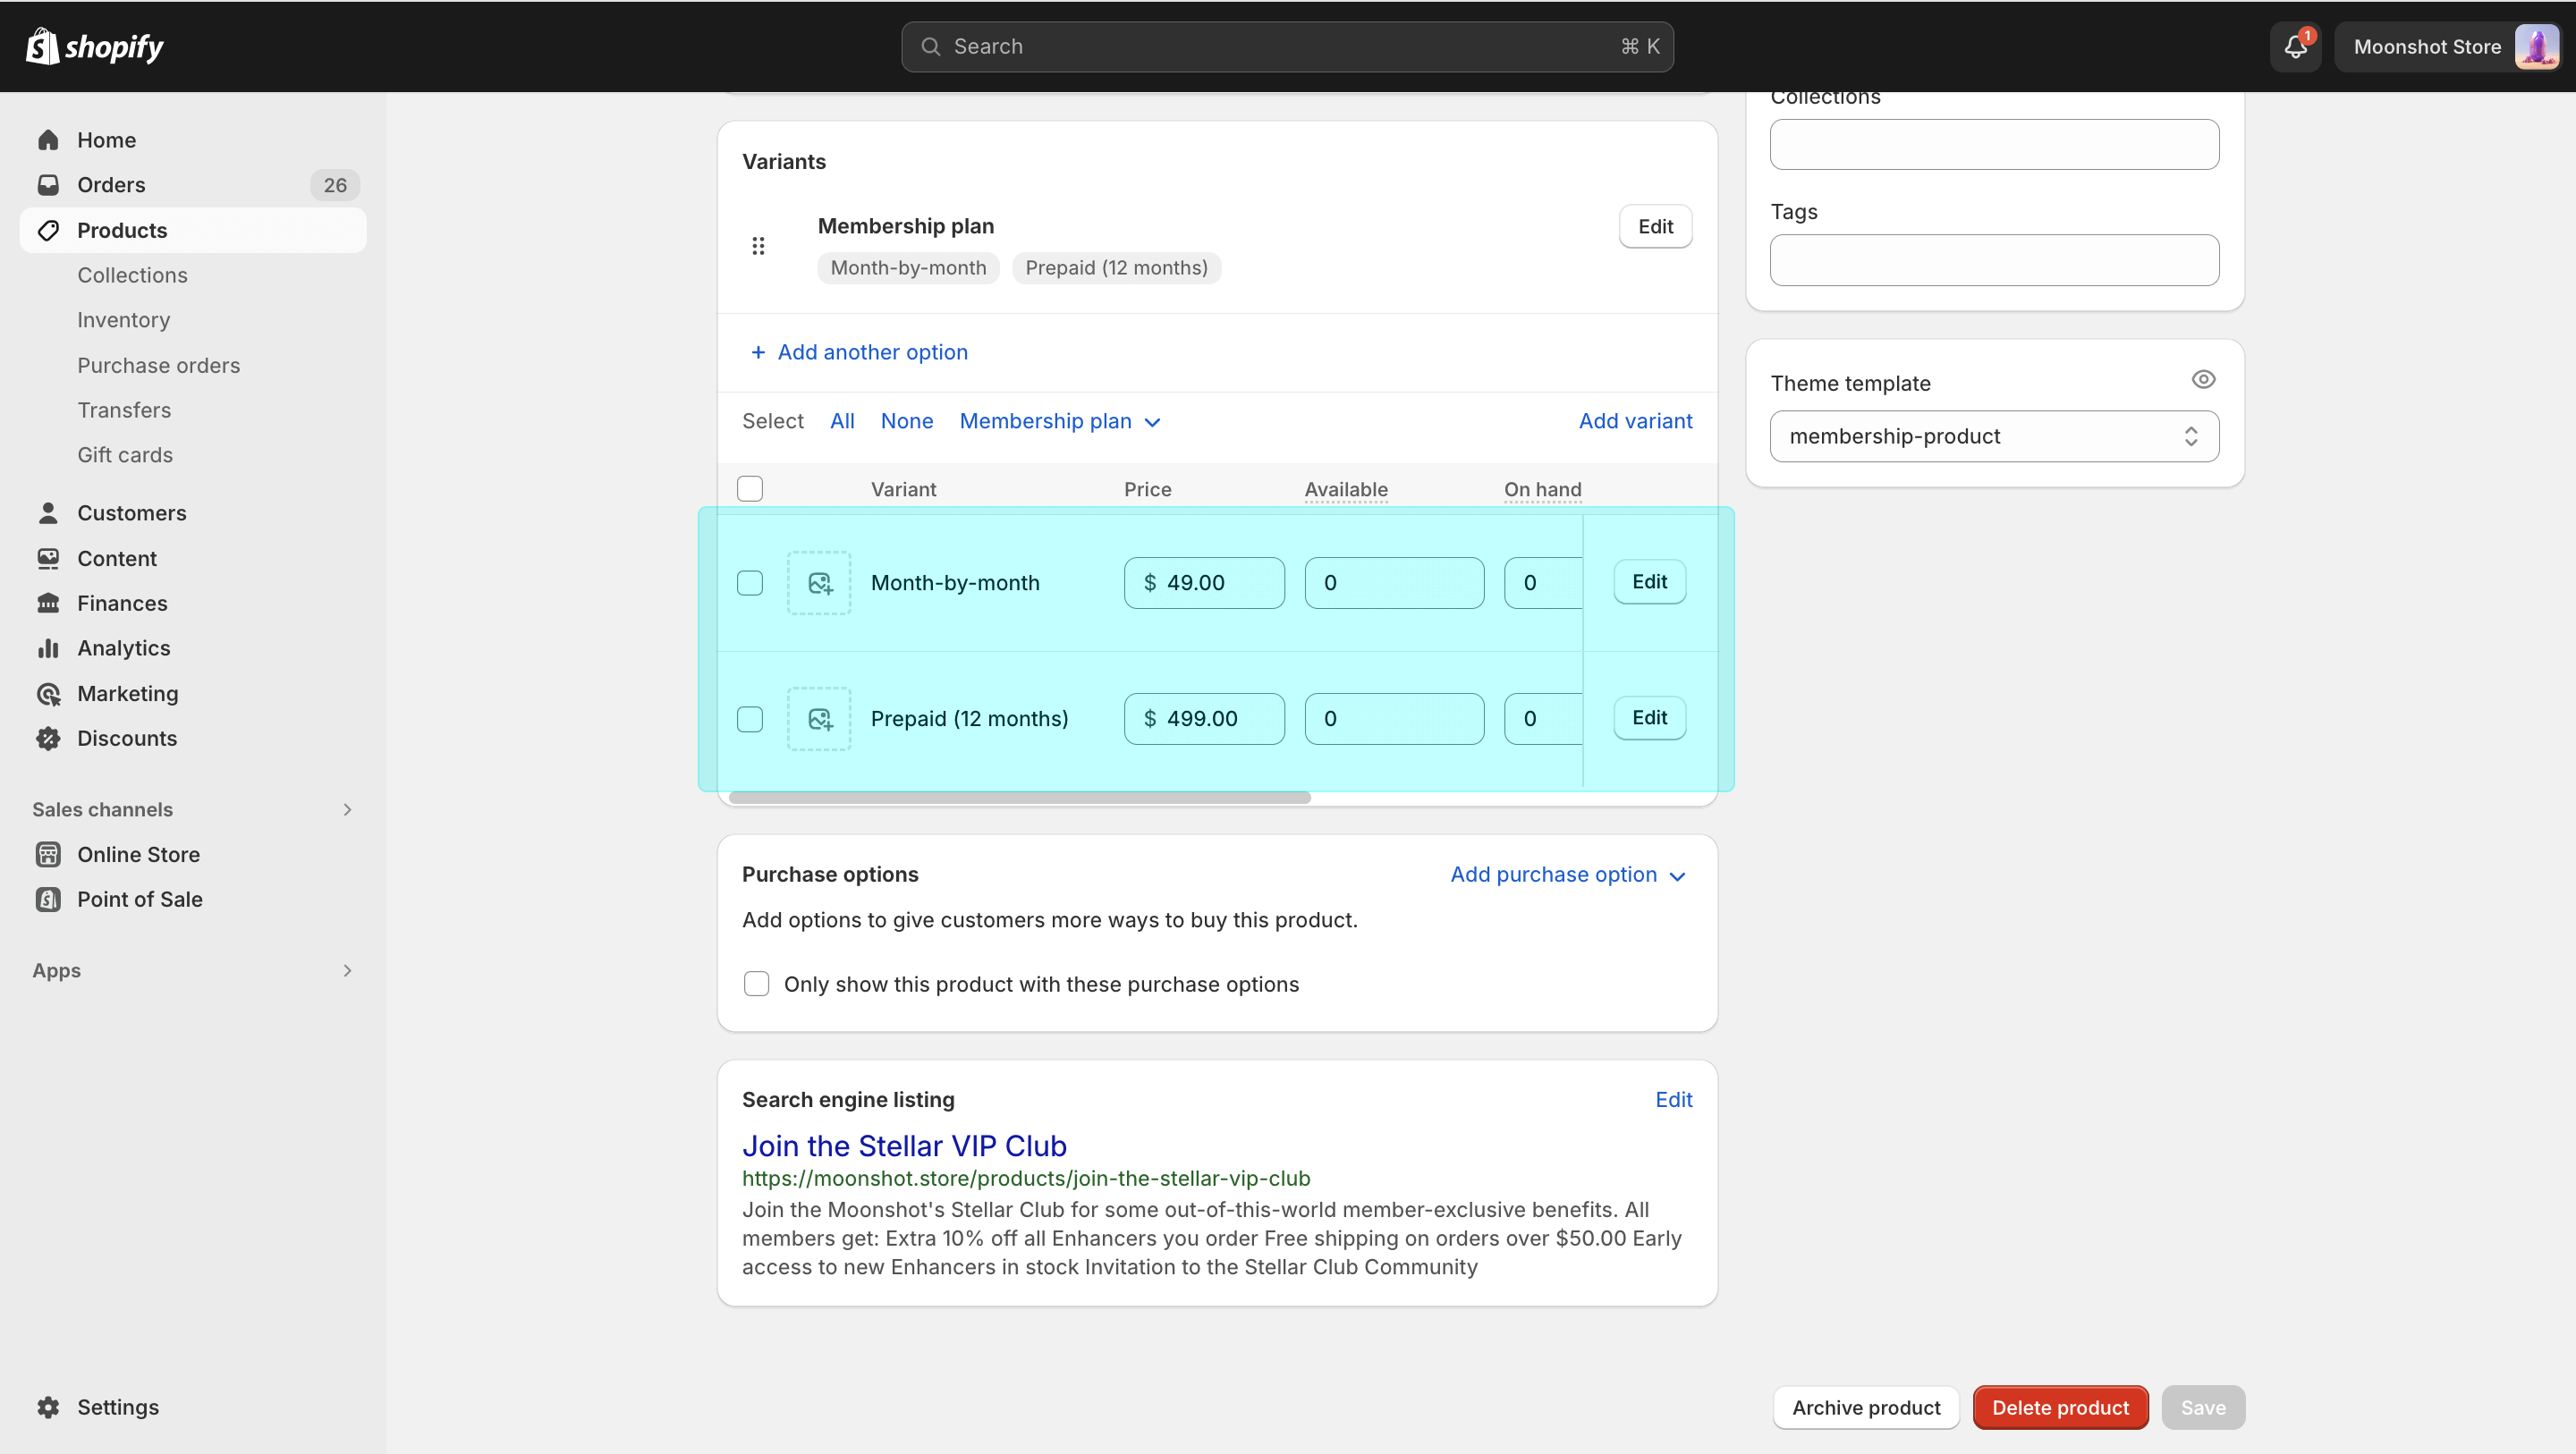
Add more subscription plans
The next step is to set up a separate subscription plan for each of the options. So, if your Membership can be paid for on a monthly basis or in advance for 12 months with a discount, as in the example above, you need to set-up a subscription plan separately for the monthly and prepaid variant. When the plan is set up, assign the corresponding product variant to it.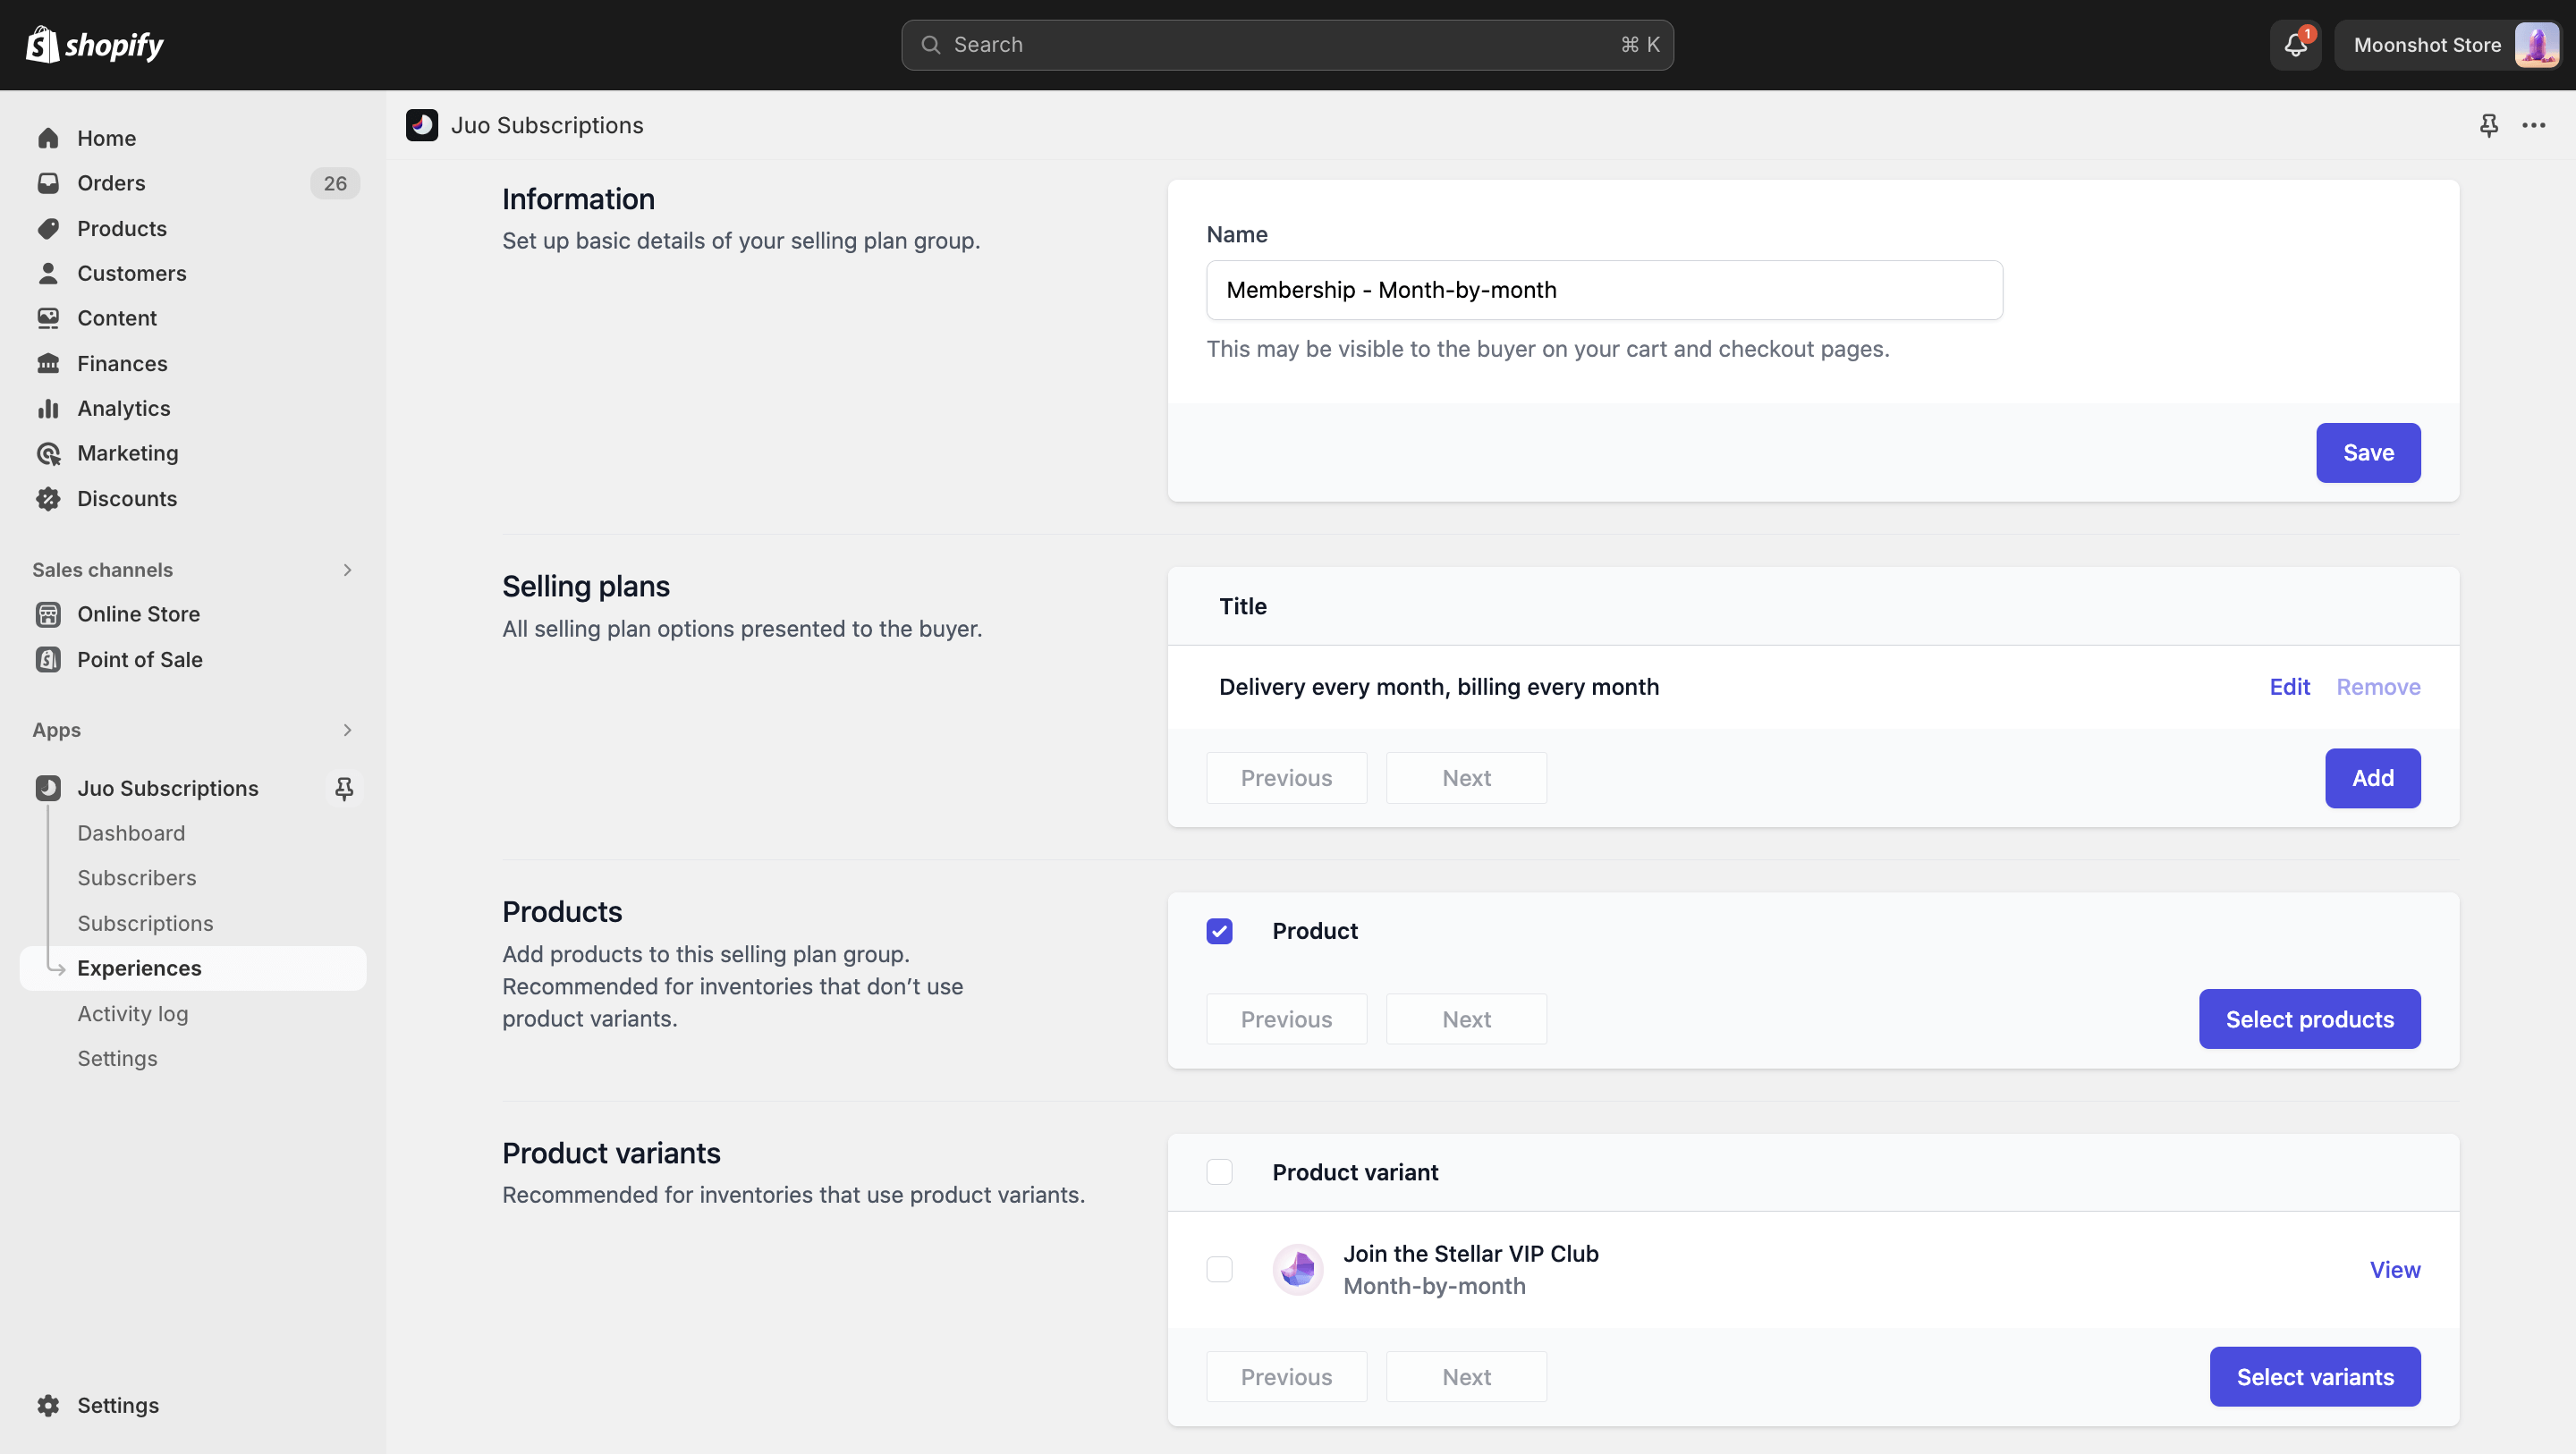
Display Membership options
In order for the customers to select Membership plans or tiers, the product variants need to be visible on the Membership page template. Before you enable Memberships, make sure that the Variant picker block is displayed and that the variants are showing up correctly on your Membership page.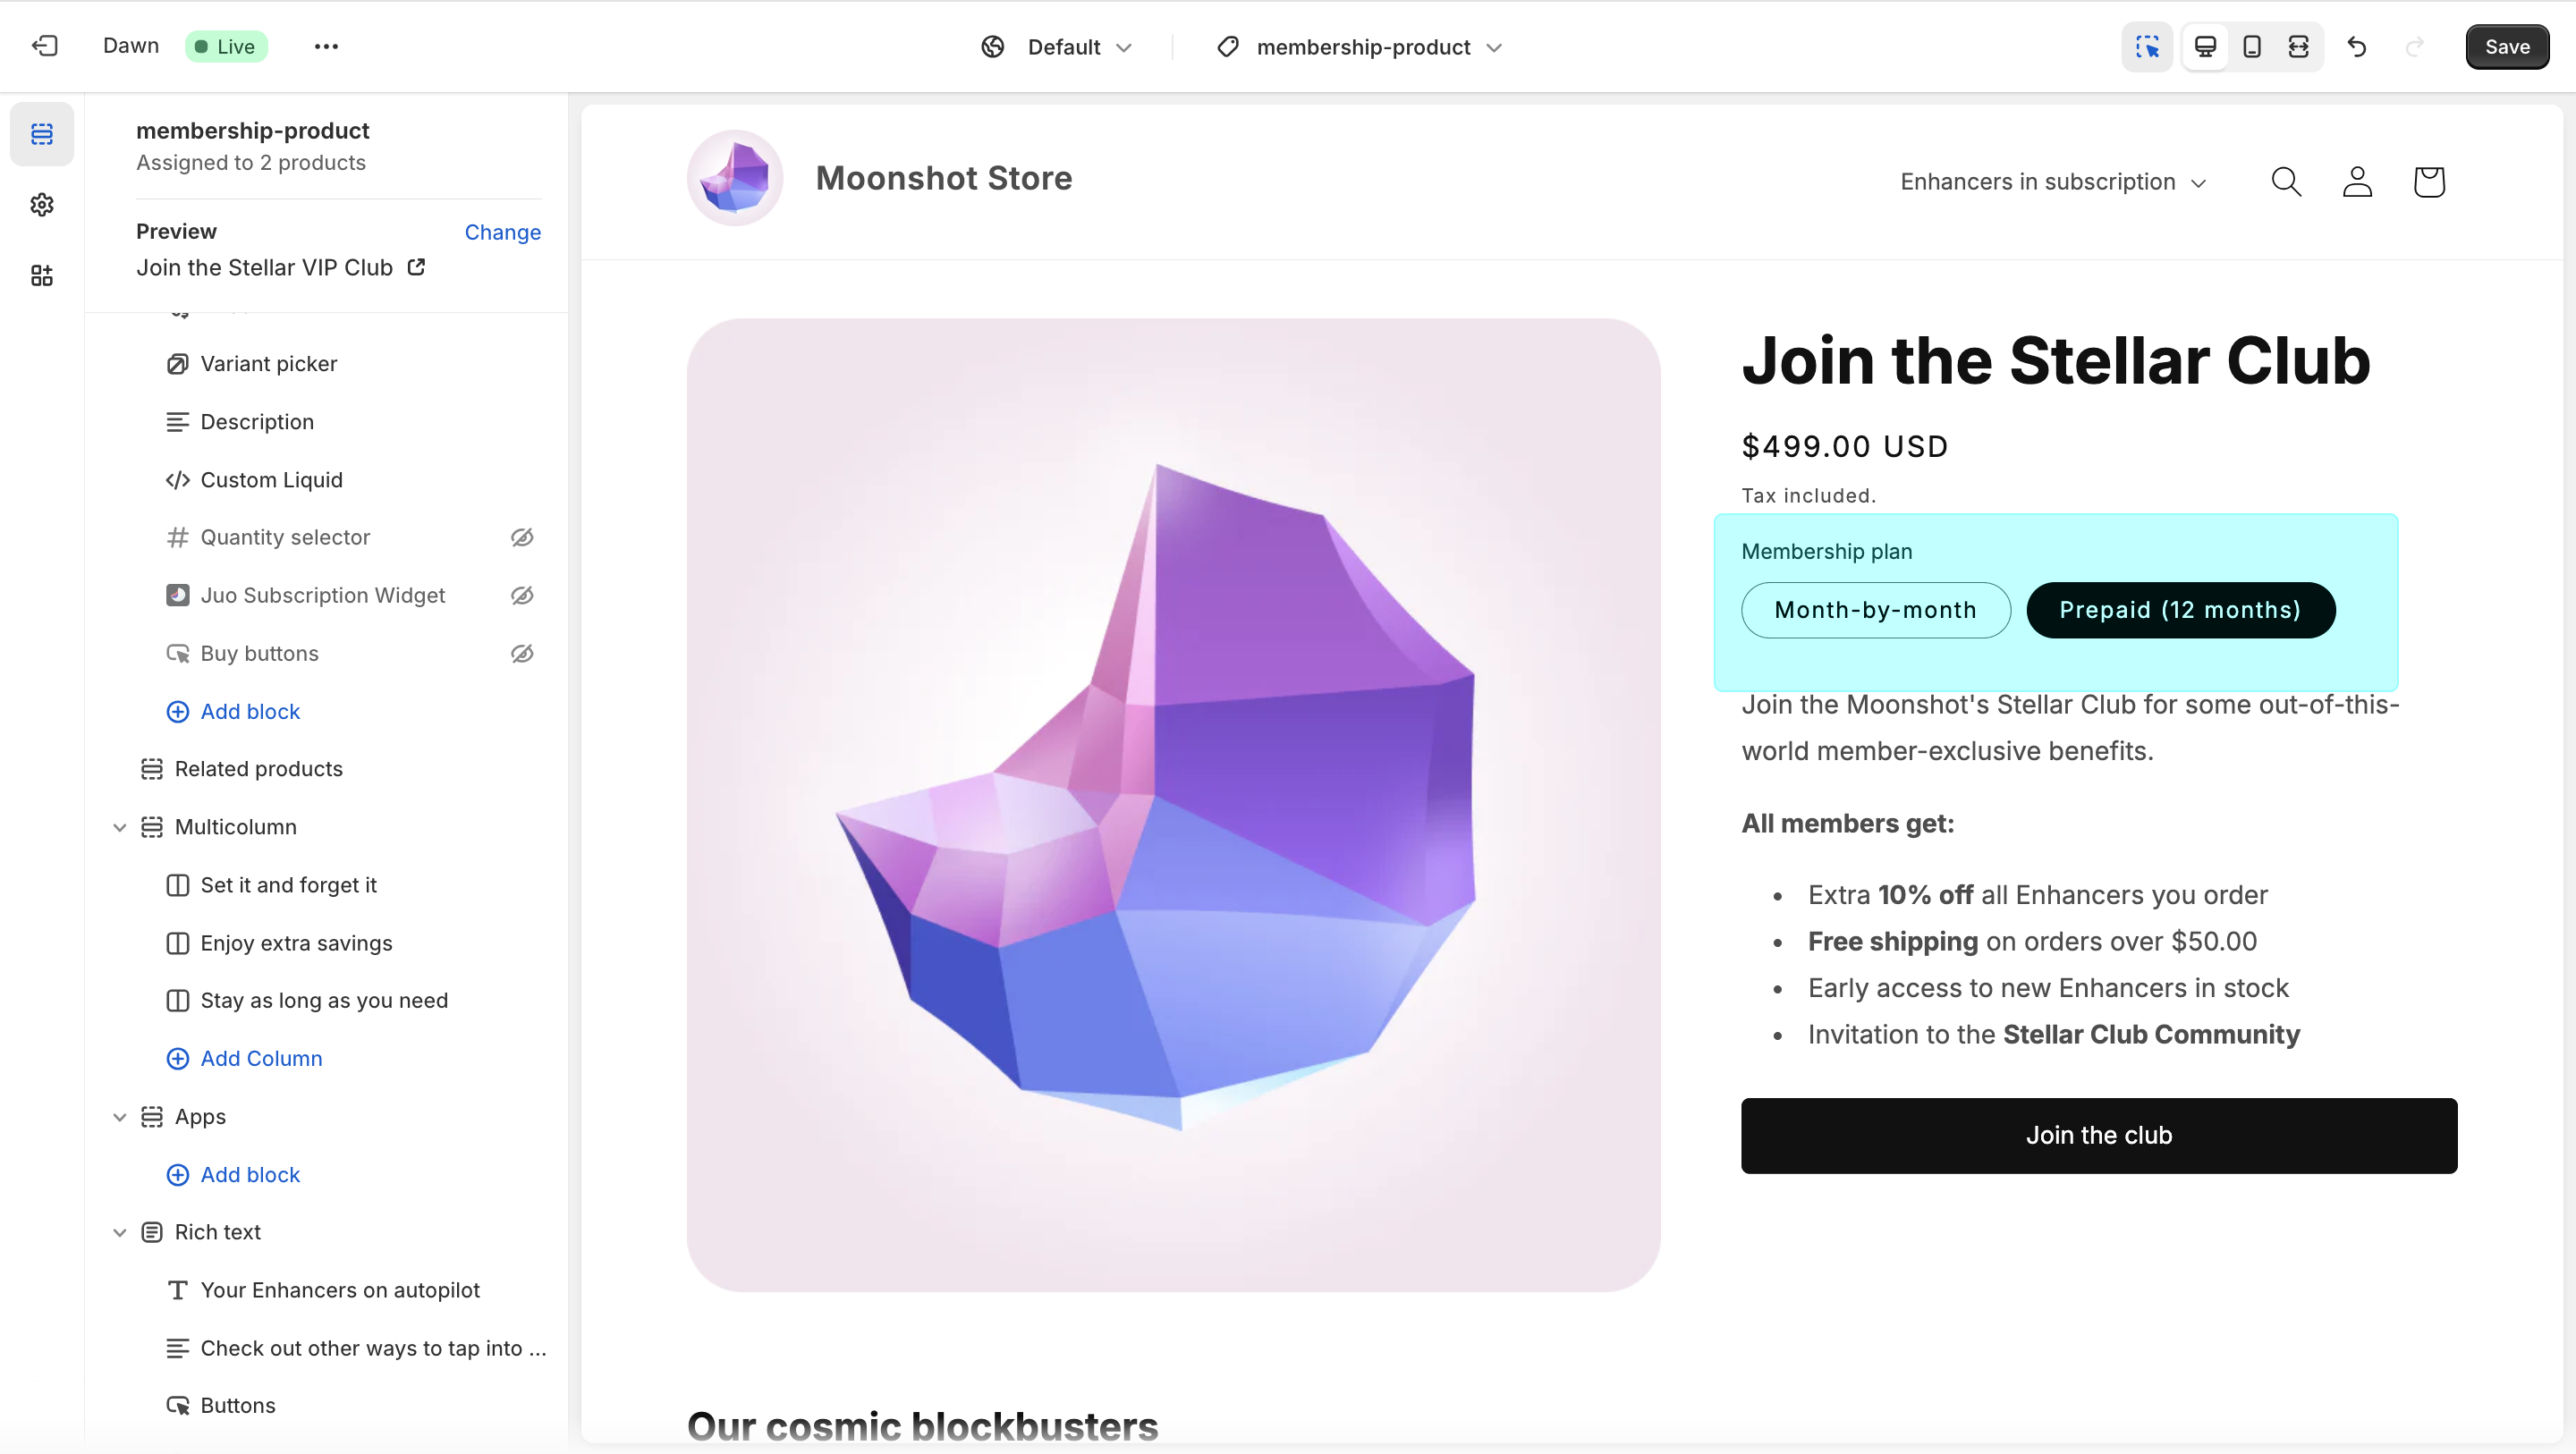
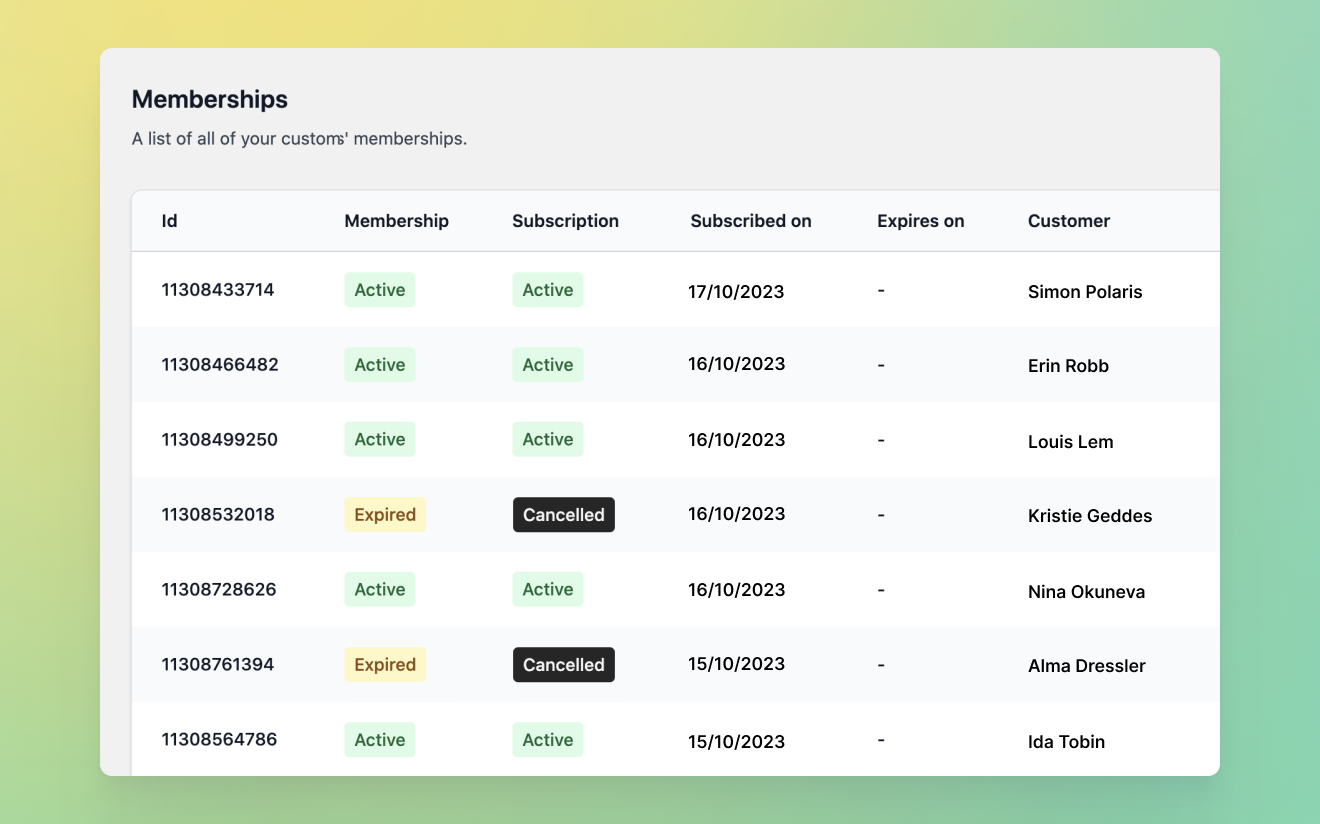
Set a Membership customer segment
The benefits that come with a Membership are restricted to just the customers who have an active Membership. That’s why you need to create a customer segment for Membership owners first. You can do this in Shopify, under Customers > Customer segments. Name your segment “Membership” and use filter: customer_tags CONTAINS ‘membership_active’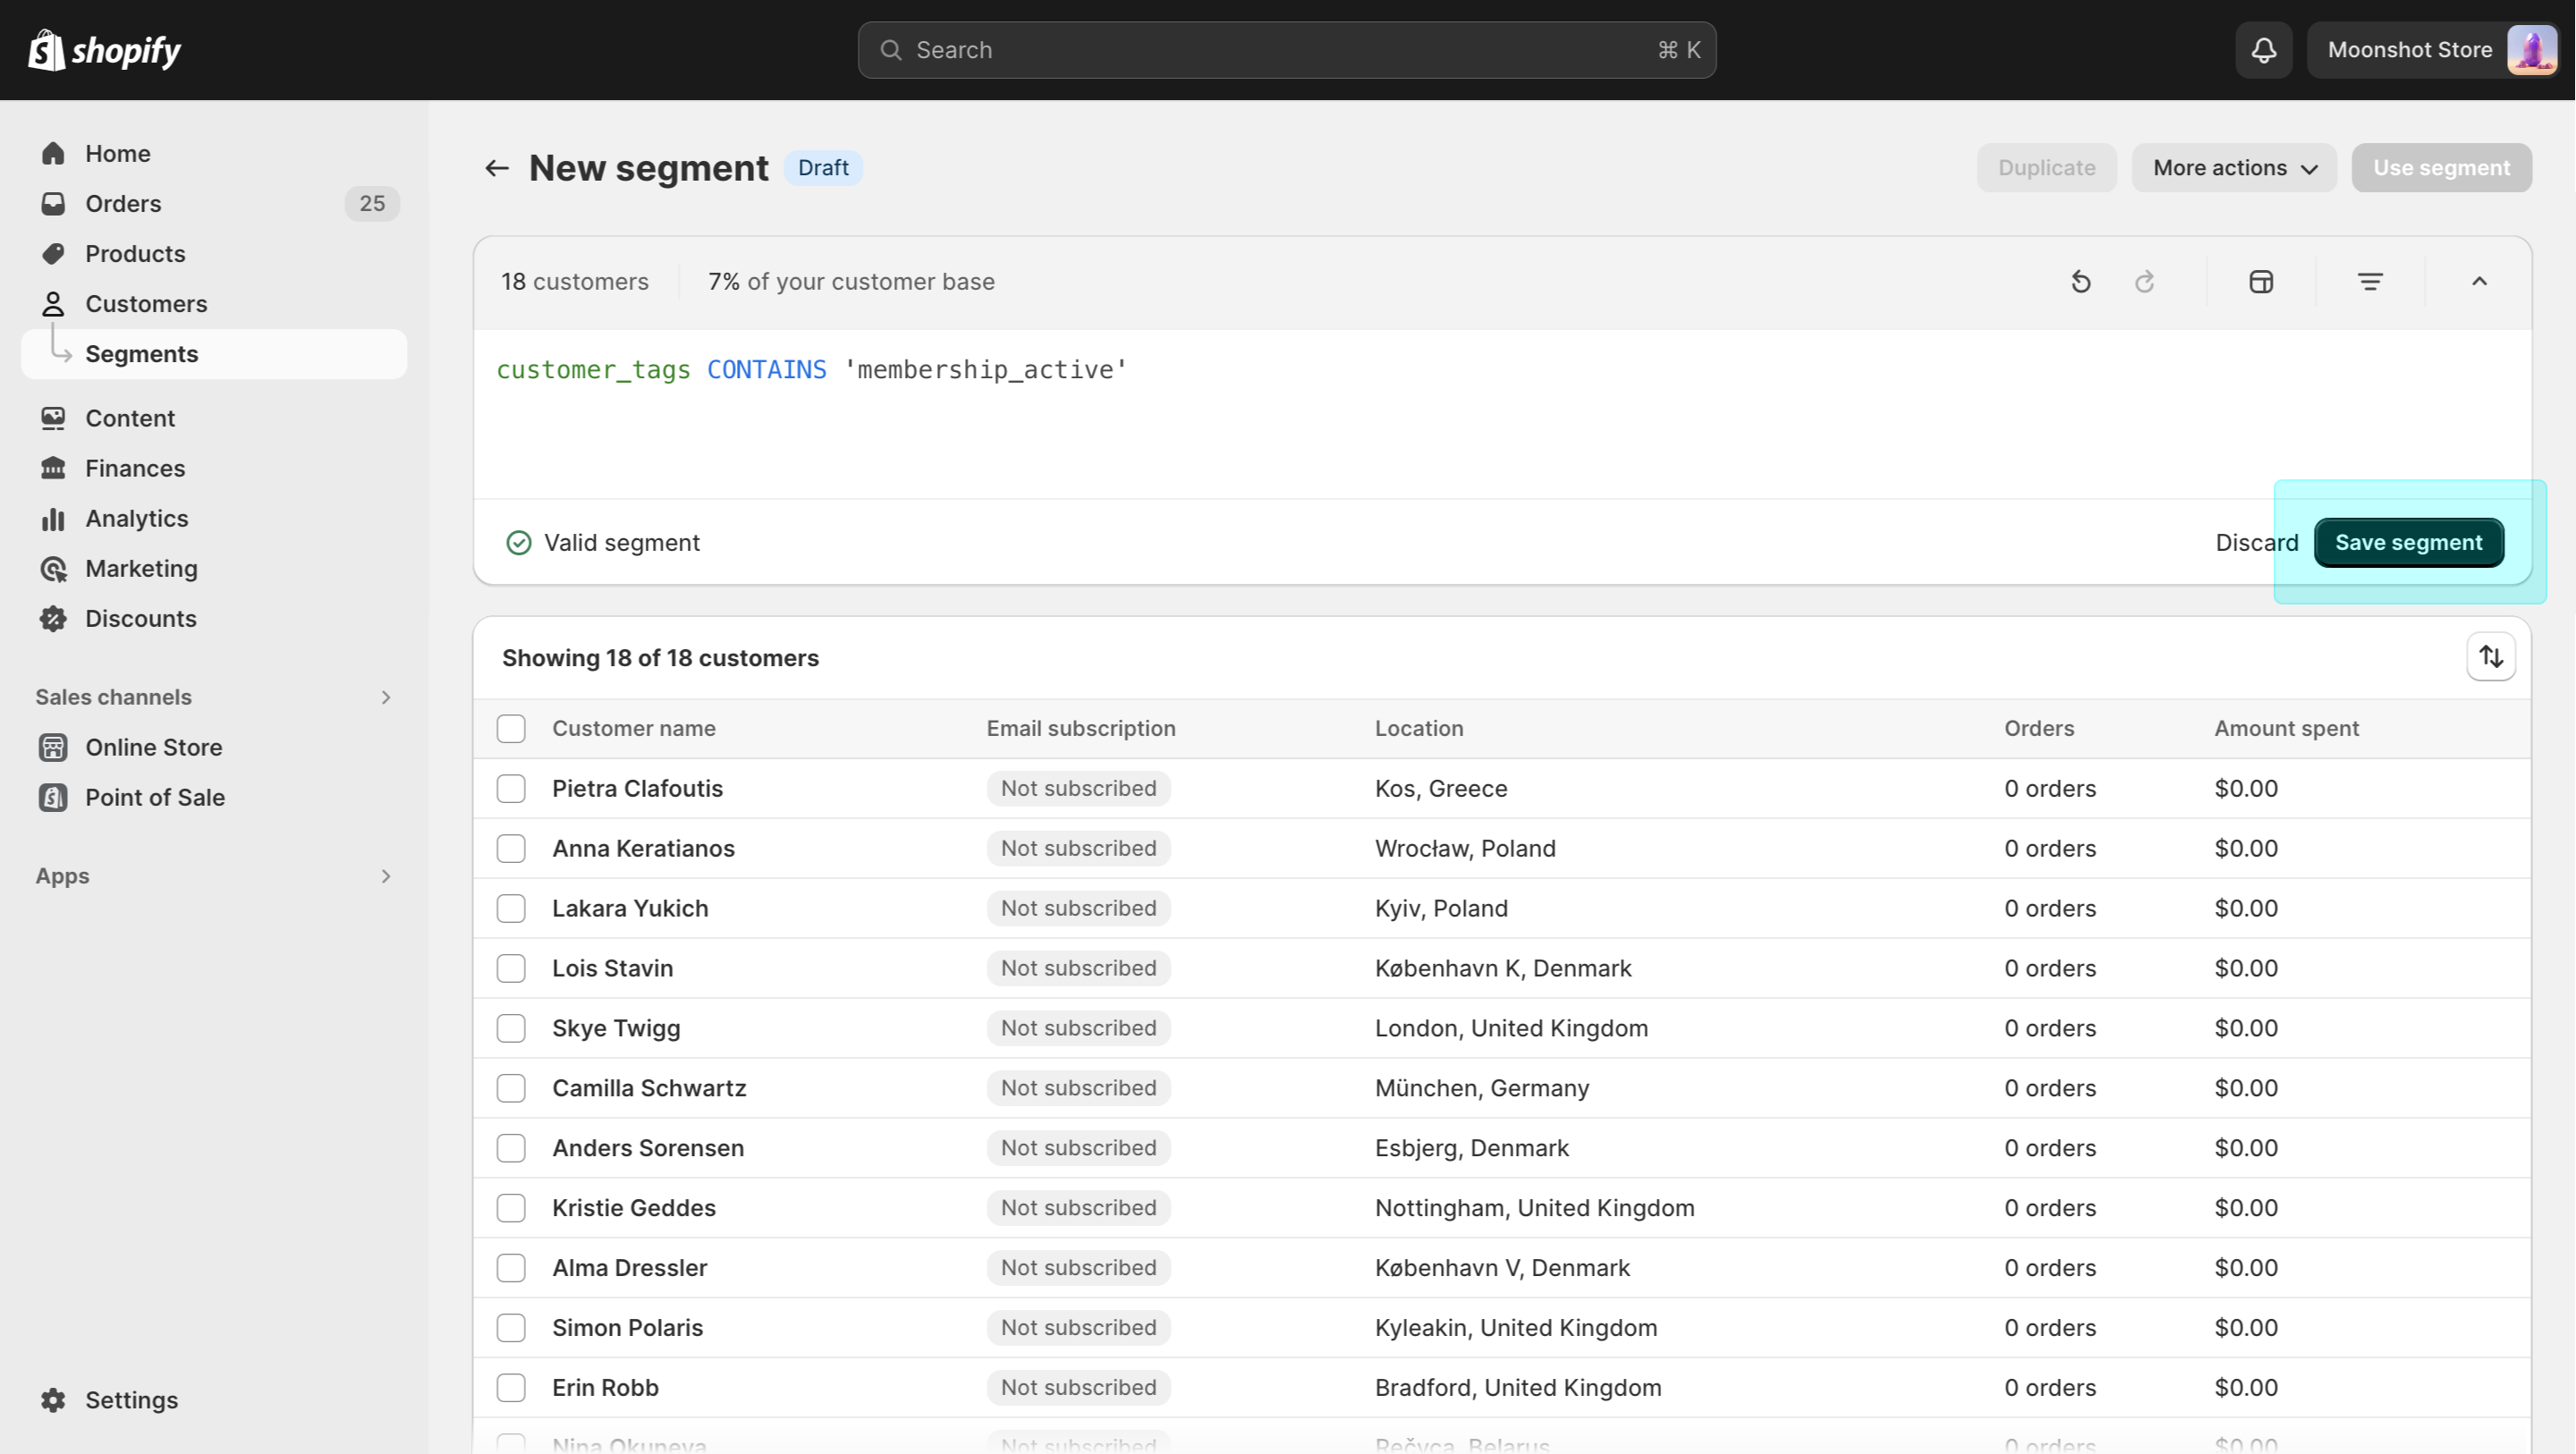
Set up the benefits
Memberships in Juo let you offer various additional benefits, such as free shipping or discounts on selected products. You can set up the benefits under Discounts in Shopify.Choose discount type
To add a discount, click on “Create discount” and select the type of discount you want to offer with the membership (e.g. free shipping). Make sure to select “Discount code” as the method and select a suitable name for your discount. The name will be visible to your customers on checkout.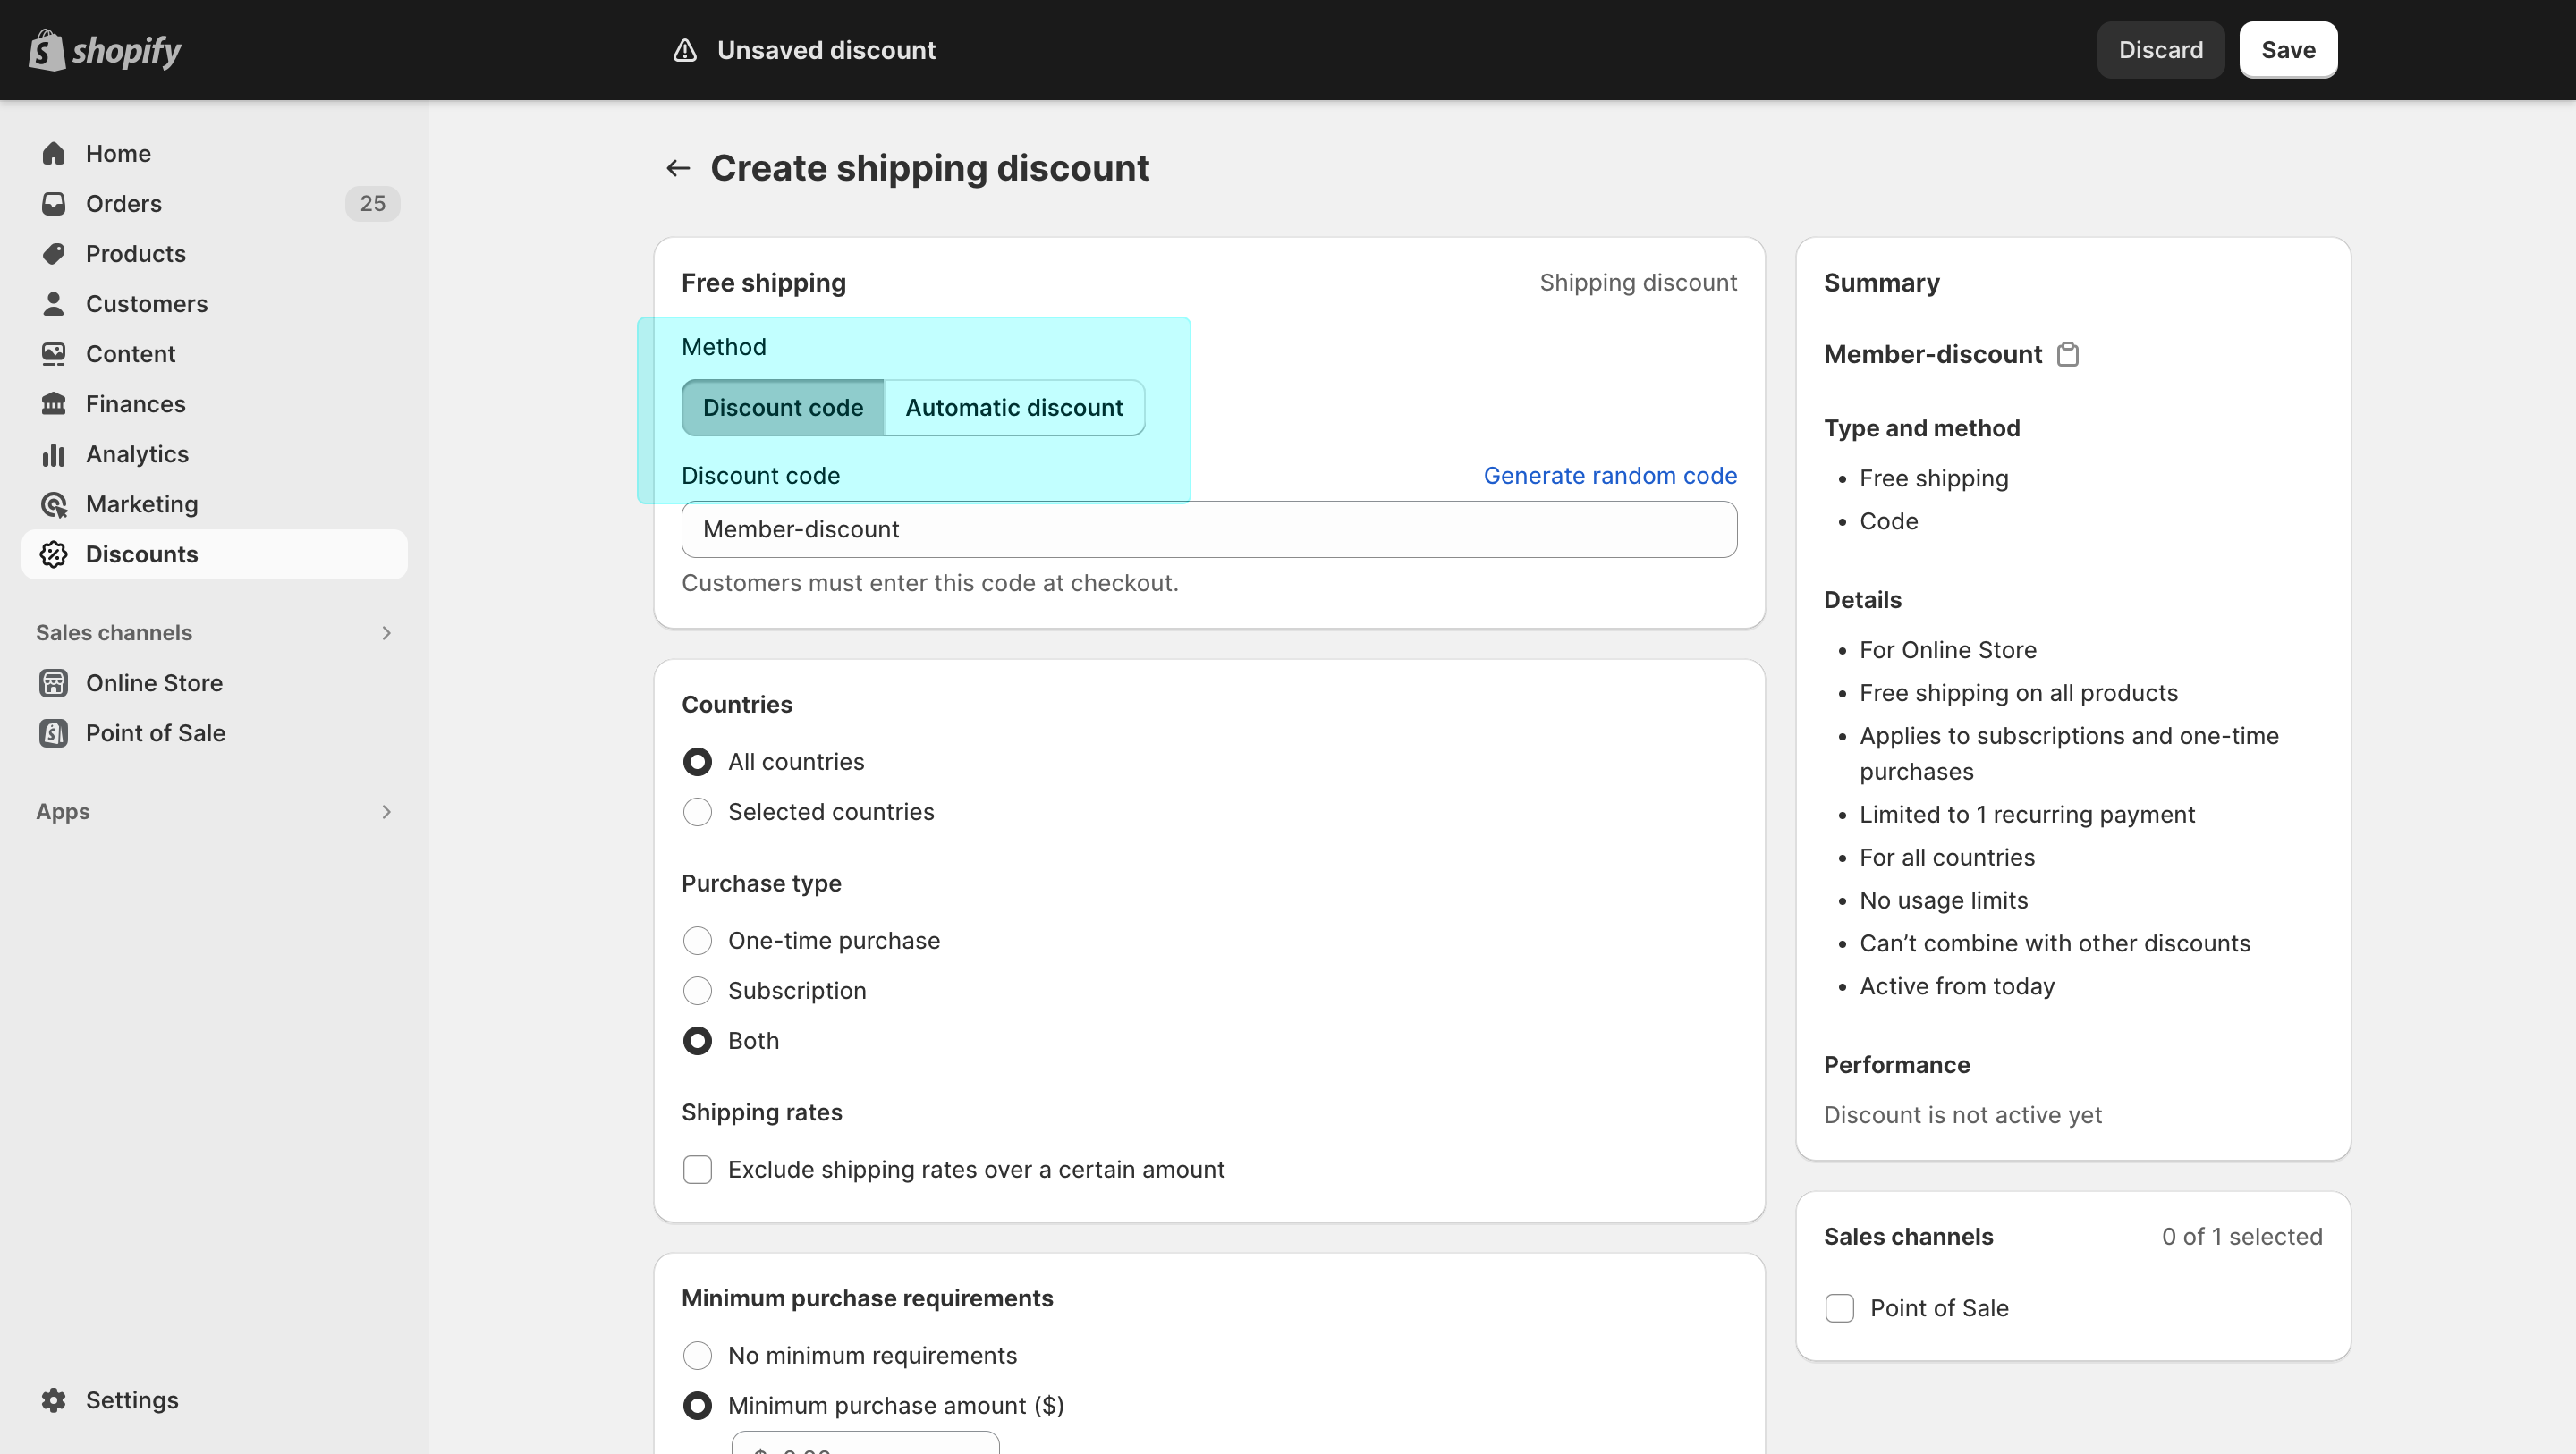
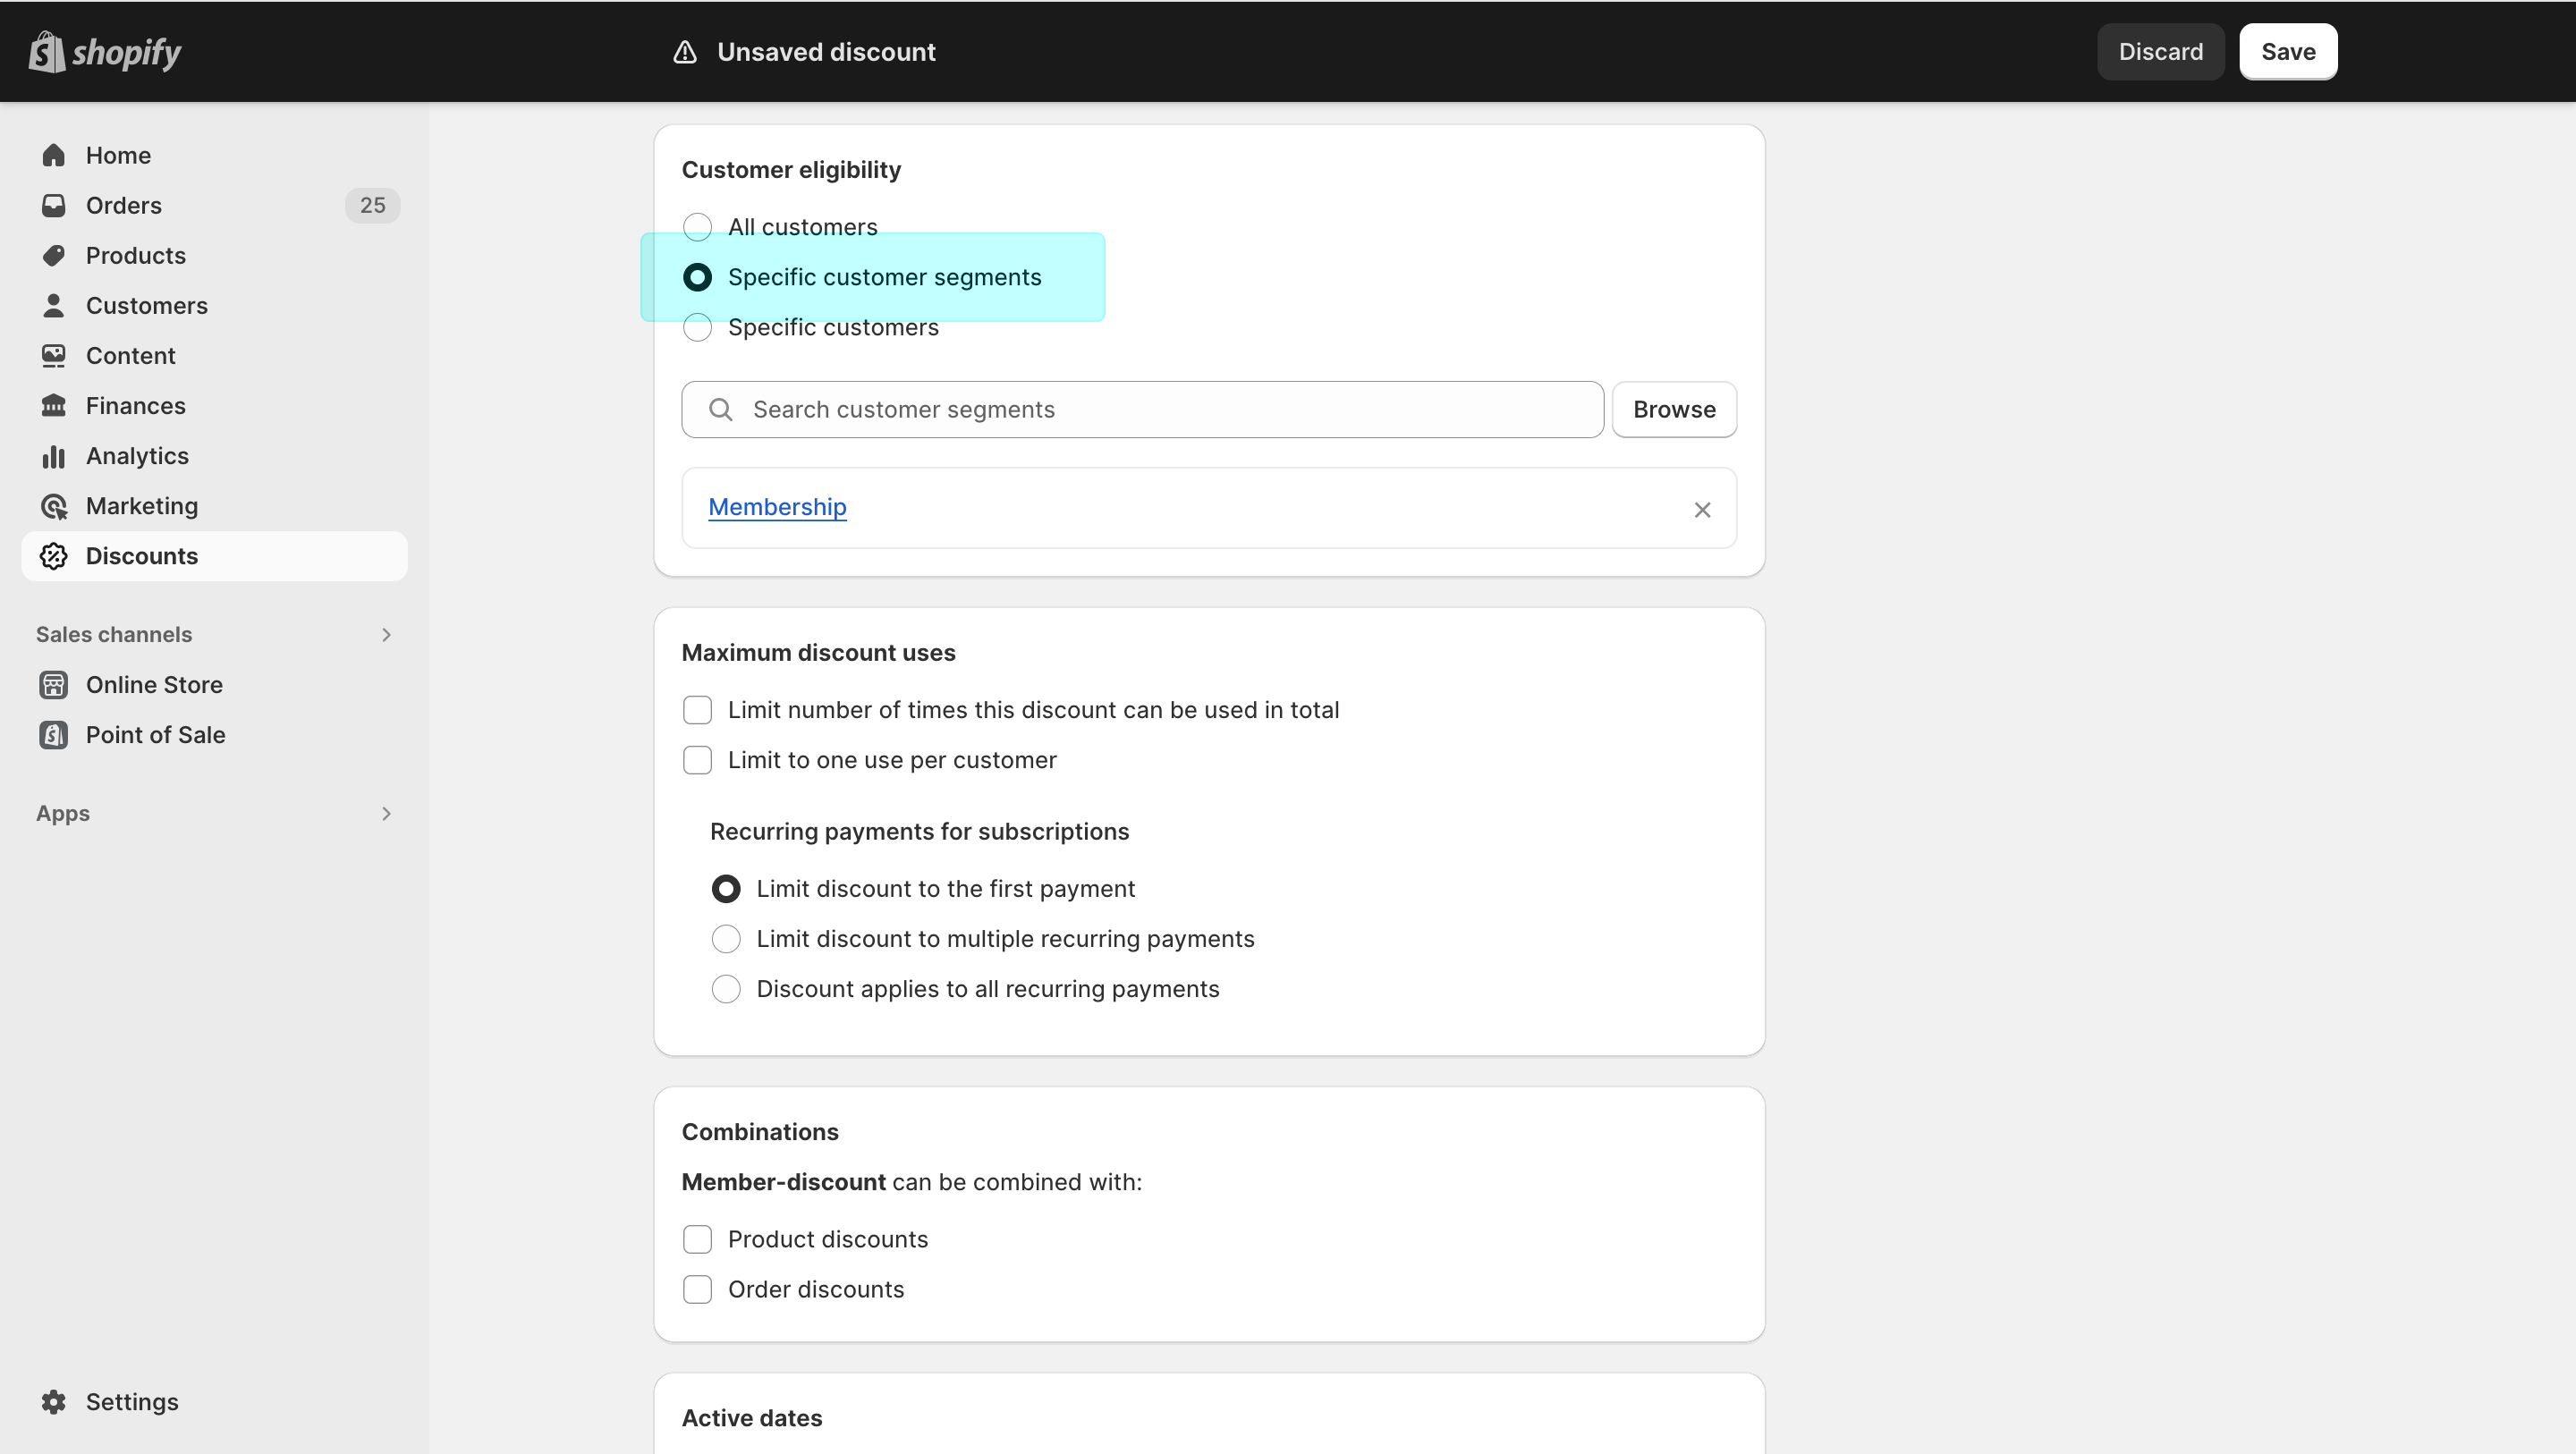
Add Customer segment
Also, you need to limit the discount application to just the customers who have a membership with you. Select “Specific customer segments” and search for the “Memberships” segment you created earlier. Now’s the time to adjust the other details of the discount, such as the Purchase type (one-time, subscription, or both), minimum price threshold, Combinations with other discounts — all depending on your specific Membership offering.